

How To Attach Cabinet Handles
Your kitchen remodel is nearing completion, and you can almost smell the Sunday roasts. One of the final touches is attaching the kitchen cabinet handles. We’ll cover how to attach cabinet handles from start to finish, helping you ensure professional placement and installation.

How To Add Handles to Kitchen Cabinets
If your cabinets don't have existing hardware, follow this step-by-step guide to attach your new handles seamlessly:
Choose Kitchen Handles
The first step is selecting the right handles for your kitchen. There are various types of kitchen handles to choose from, including knobs, pulls, and recessed handles. Each type has different attachment requirements and levels of difficulty, so choose one that suits your style and skill level.
Attaching Knobs vs. Bar Pulls
Attaching kitchen knobs is straightforward and suitable for beginners. Each knob requires just one screw, making installation quick and easy. Simply measure, mark the spot, drill a pilot hole, and screw the knob into place.
Cabinet pull handles can be more complex to attach. Most cabinet pull handles need two screws, which means you need to ensure both holes are perfectly aligned.
Working with Speciality Hardware Designs
Speciality hardware designs, such as recessed pulls, edge pulls, and decorative handles, offer unique aesthetic options but can vary in difficulty levels for installation. Recessed pulls often require routing a space into the cabinet, which can be challenging for beginners. Edge pulls and decorative handles might need precise placement and additional hardware, making them slightly more complex to install than standard knobs and pulls.

Gather Tools
Before you start, it's essential to prepare properly. This includes gathering all the necessary tools to help save time and ensure a smooth installation process. Here’s what you’ll need to install cabinet hardware:
- Drill and set of drill bits
- Screwdriver
- Tape measure
- Pencil
- Tape
You can also get a template. It helps you mark consistent and accurate hole placements on your cabinets, giving your kitchen a professional and uniform look.
Placement for Different Types of Handles
Each type of kitchen handle has an optimal placement on your kitchen cabinets. Whether you prefer knobs or pulls, selecting the right spot enhances both functionality and aesthetics.
-
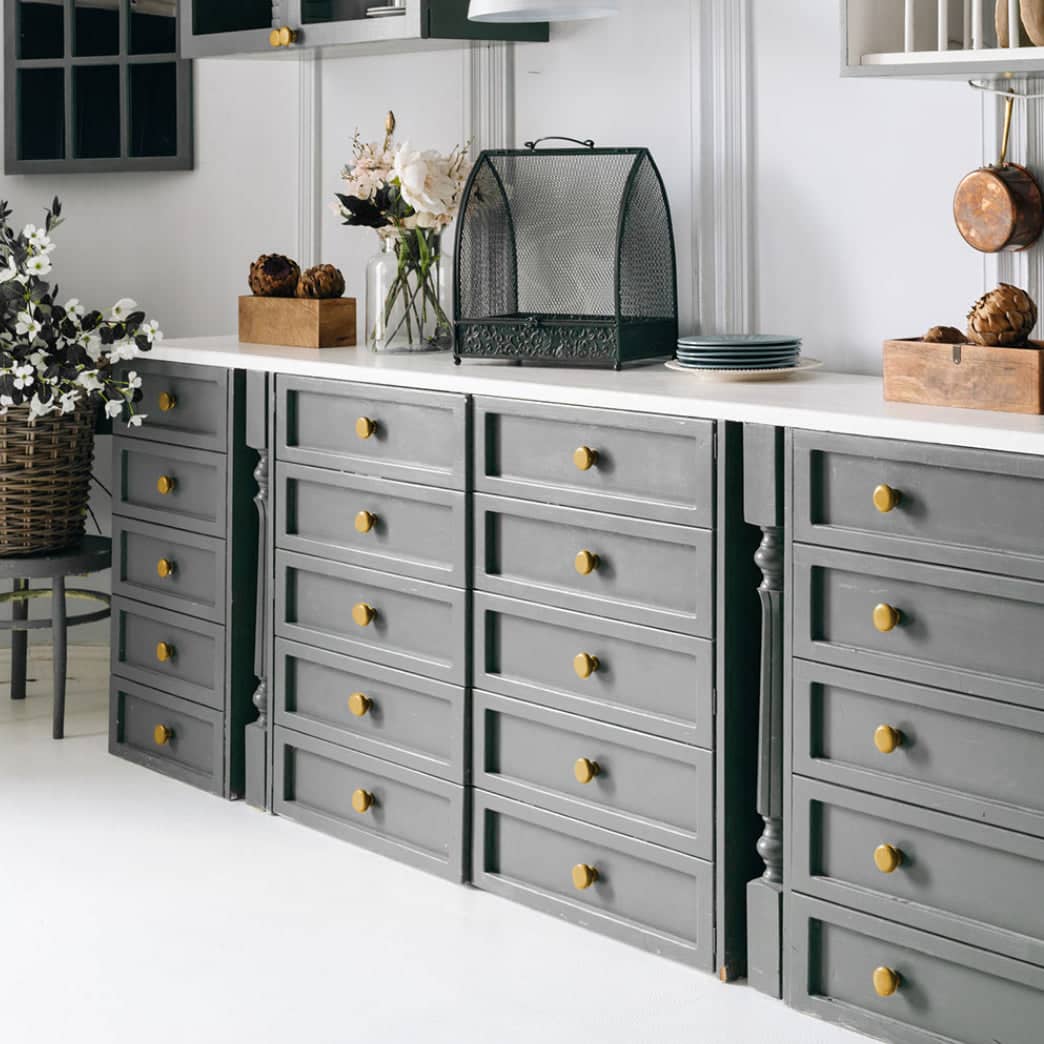
Knobs: Knobs are commonly used on cabinet doors and can be positioned at the top corners of lower cabinets or the bottom corners of upper cabinets. For drawers, place knobs in the centre to achieve a balanced look.
-
Pulls: Pulls are versatile and can be installed both horizontally and vertically. On cabinet doors, they are placed vertically at the bottom corner of upper cabinets or horizontally at the top of the lower cabinets.
Measuring and Marking Handle Positions
To start measuring, you will need your tape measure, tape, pencil, and handles. Kitchen handles are typically placed between 2.5cm and 5cm from the edge of the cabinet cupboard or drawer, depending on functional and aesthetic preferences. Follow these steps to measure your exact placement:
-
How to measure for knobs: Determine if you will place the knobs in the top or bottom corner of the cabinet or the centre of the drawer. Next, measure the area to find the exact centre point. Measure from the edges to the middle of the desired location and mark this spot with a pencil.
- How to measure for pulls: Determine if you are positioning the pull vertically or horizontally, depending on your placement on the cabinet or drawer. For D-shape or t-bar cabinet handles measure the distance between the centres of the two screw holes. Transfer this measurement to the cabinet, ensuring they are evenly spaced from the edges.
When marking, place a piece of tape on the cabinet door to protect the surface and make your marks more visible. Use a pencil to lightly indicate the spots where you will drill. Double-check your measurements to confirm accuracy and consider using a template to ensure consistency across all cabinets.
Top Tip: Measure twice, drill once!

Drilling Pilot Holes for Cabinet Handles
You have your handles, your placement is chosen, and your screw holes are measured and marked. Now you're ready to start drilling. Begin by drilling pilot holes at the marked spots, which helps prevent the wood from splitting and makes it easier to insert screws.
Use a drill bit slightly smaller than the screws to ensure a snug fit and secure attachment for the handles. Drill slowly to maintain control and accuracy, as too much speed can cause the drill to slip or the wood to splinter. Taking your time will result in a cleaner and more precise installation.
Top Tip: Attach a zip lock bag with tape to the cupboard beneath the drill hole. This will catch any dust and minimize your clean-up!
Securing Handles to Cabinet Doors and Drawers
Insert the screws through the holes in the handles and align them with the pilot holes. Tighten the screws with a screwdriver. Repeat this process for each handle until all your new handles are installed.

How To Change Cabinet Handles
Changing existing cabinet handles involves removing the old hardware and preparing the surface for new handles.
Removing Old Cabinet Hardware
Use a screwdriver to remove the screws holding the old handles in place. Gently pull the handle away from the cabinet once the screws are removed. Once the old handles are removed, clean the area to remove any residue or dirt.
Filling and Refinishing Old Handle Holes
Make sure to fill any old handle holes with wood filler. Allow this to dry fully before sanding until smooth. You can then paint or stain the area to match the rest of the cabinet if needed. After the paint or stain is dry, follow the steps from above to attach your new handles.
Troubleshooting Common Installation Issues
Even with careful planning, you may encounter issues during installation. Here’s how to troubleshoot common problems.
Dealing with Misaligned Holes
Misaligned pilot holes can cause handles to be uneven, which affects both the look and functionality of your cabinets. This issue is often caused by inaccurate measurements or a poorly positioned template.
To fix it, fill the misaligned holes with wood filler and allow it to dry completely before marking and drilling new holes. Ensure your template is correctly positioned and double-check all measurements before redrilling to avoid further misalignment.
Split Cabinets During Drilling
Splitting cabinets during drilling is a common problem where the wood cracks or splits around the drilled hole. This issue is typically caused by using too much force, an incorrectly sized drill bit, or drilling too close to the edge of the wood. To prevent splitting, always use a pilot hole and ensure the drill bit is slightly smaller than the screw.
If you do experience splitting, you can repair the damage by applying wood glue to the split area and clamping it until it dries. For larger splits, you might need to fill the area with wood filler and sand it smooth before redrilling.
Finishing Touches and Maintenance
After installing your cabinet handles, there are a few final steps to ensure they remain secure and look great.
Tightening and Securing Newly Installed Handles
Over time, screws can loosen, so periodic checks are recommended. If handles feel loose, tighten the screws carefully to avoid stripping them.
Cleaning and Caring for Cabinet Hardware
Clean your cabinet handles regularly with a soft cloth and mild detergent, avoiding abrasive cleaners that can damage the finish. Occasionally polish the handles to maintain their shine and prevent tarnishing. Periodically inspect the handles for signs of wear or damage and replace any that are worn out to keep your cabinets looking their best.
FAQS
Can I install cabinet handles on painted cabinets without damaging the finish?
Yes, you can install cabinet handles on painted cabinets. Use a drill with a sharp bit and go slowly to prevent chipping. Consider using painter's tape to protect the surface.
Is it possible to install cabinet handles without drilling holes?
Yes, adhesive-backed handles are available and can be installed without drilling. You can also select new handles that match your existing screw holes to avoid the need for any new drilling.
How do I ensure that my cabinet handles are aligned perfectly across multiple cabinets?
Using a template is the best way to ensure perfect alignment. Measure carefully and mark each spot before drilling to maintain consistency across all cabinets.
Read more

How To Clean Chrome Kitchen Cabinet Handles
Chrome kitchen cabinet handles bring modern elegance to any kitchen. Their silver tones blend seamlessly with any kitchen design, from contemporary to traditional. Not only do they look sleek and s...
Read more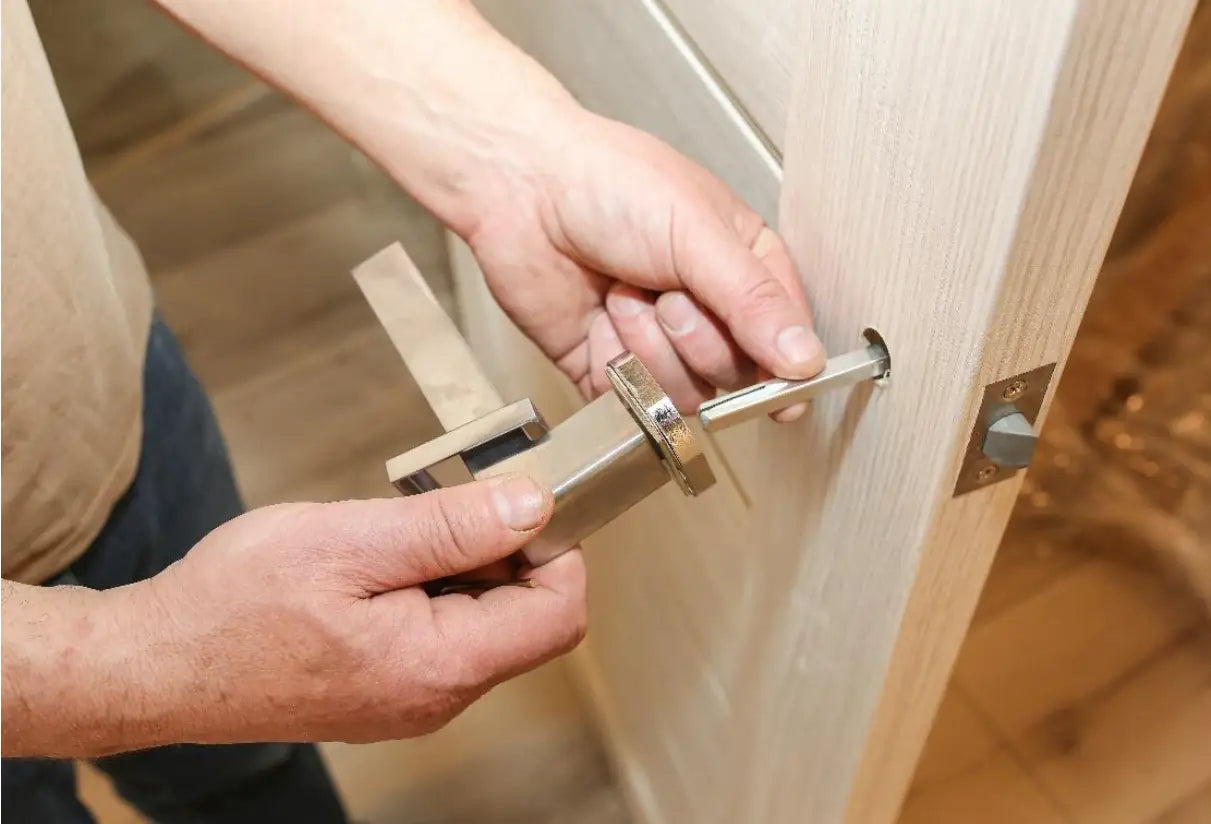
Are Door Handles Easy to Replace?
Replacing your door handles is a fantastic way to enhance the look and function of your home. New handles can give your space a fresh, stylish touch whilst enhancing security. But do you need profe...
Read more