How to Fit Kitchen Cabinet Door Handles and Knobs

Knobs, pulls, and other cabinets handles are like accessories for your kitchen. Adding knobs to cabinets or replacing old ones with brand new and trendy handles is an easy way to revamp your kitchen and give it a touch of your own style. You will be surprised at the impact the change can make.
The right cabinet hardware can complement and accentuate the colours and textures of your kitchen space. The positioning and placement of cabinet hardware also affect the functionality of your kitchen. The placement of the handles also plays a role in the final look of your kitchen.
So, if you’re planning to install cabinet hardware in your kitchen or replace old knobs, here’s an easy guide that will help you with this project.
Choosing the Right Kitchen Cabinet Hardware
Choosing the right cabinet hardware isn’t easy. There are so many options out there. You must take plenty of time in selecting the right knobs or handles that can give your kitchen units and cabinets the final finishing they deserve.
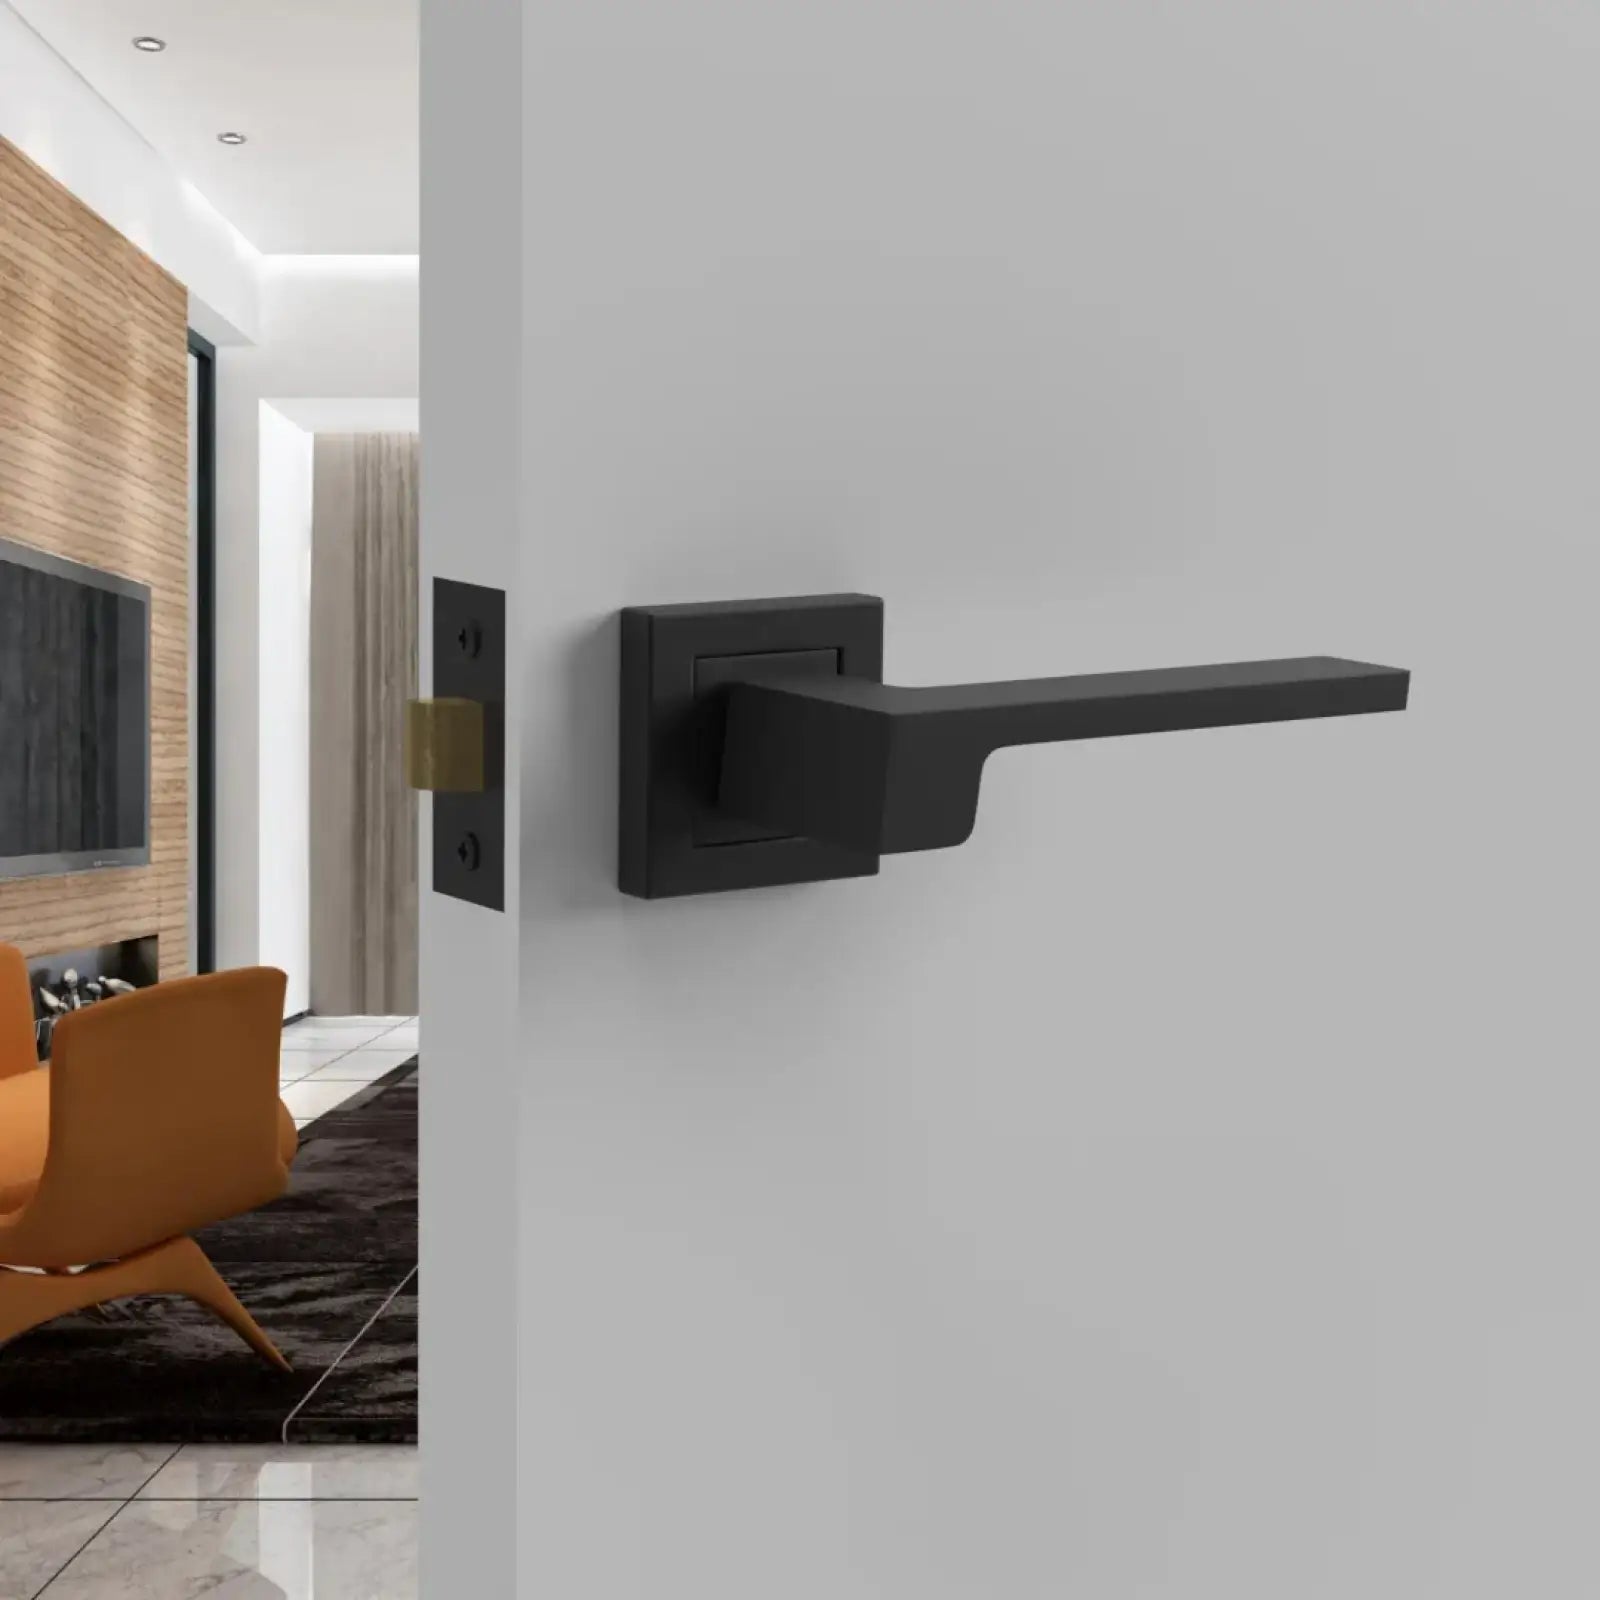
If your kitchen features warmer tones, gold and bronze finishes work best. For grey, blues, and other cool tones, stainless steel, pewters, and blacks will look great. If you’re choosing between knobs or bar pulls, you should know that knobs are generally less expensive and easier to work with.
On the other hand, bar pulls tend to look more appealing and have a significant impact on the overall design. So, the choice really depends on your style and preference.
One thing you should keep in mind is the size of the knob. Some knobs can be quite small and require a good finger grip in order to pull the drawer open.
How to Fix Kitchen Cabinet Handles
Here’s what you are going to need.
- Cabinet knobs or handles
- Measuring tape or ruler
- Pencil
- Drill
- 3/16 inch drill bit
- Screwdriver
- Screws
Step 1: Positioning the Handle or Knobs
When deciding the position of the knob or handle, a basic rule is that base unit handles should always go towards the top of the cabinet door while wall unit handles should be fixed towards the bottom of the cabinet door to facilitate easy access.
Start the process of fitting kitchen cabinet handles by dividing the cabinet door into three horizontal parts: top third, middle third and bottom third. If you have to fit several handles in a row, you must have them all levelled at the same position. It’s best to mark the position of each knob or handle in each of the doors so that all of them are fixed at the exact same spot and none of the knobs stands out like a sore thumb!
You will have to use a measuring tape or ruler and a pencil to make the marks. We recommend the following positions for each type of cabinet or drawer.
-
For Wall Mounted Cabinets or Units
Pick the bottom third of the door and mark the position of the handle about 50mm in from the leading edge of the door (the edge opposite to the hinges)
-
For Base or Floor Standing Cabinets
Pick the upper third of the cabinet and again nark the position of the handle about 50mm in from the leading edge of the door.
-
For Drawers
You should mark the position for the handle or knob at the vertical and horizontal centre of the drawer face.
For dividing the cabinet door into three parts you will first have to measure the total height of the door and then divide it by three which will give the height of each third. If you’re working with wall-mounted cabinets, put a light mark using your pencil at one-third of the length of the door from the bottom. For a base unit cabinet, you will have to measure down the upper third of the door from the top.
From the leading edge of the door, measure 50mm top and bottom and make a small mark. Don’t press too hard with the pencil so that it's easy to remove the marks later. Make a tiny hole at the centre of the two marks. This is the final position where you’re going to screw the knob. You can now erase the rest of the marks with a rubber.
Step 2: Drilling the Hole
Most knob screws require a 3/16 inch drill bit to drill a hole. You may confirm the size by drilling a test hole in a wood scrap and see if the screw fits perfectly. Open the door of the cabinet and start drilling through the front of the mark. The door should be opened to make sure that you don’t drill all the way into the cabinet
Step 3: Screwing the Knob
The final step is to screw the knob or handle in place. To do this, you will have to push the screw into each hole from the backside of the cabinet doors so that they poke outwards. You may have to use a screwdriver to tightly fix the screws in the holes.
Now take the handle or knob and place its screw hole exactly in front of the poking end of the screw and fix it on top of the screw. If you’re fixing a handle, you will have to fix the second screw into the screw hole. Finally, take a screwdriver and tighten up the knob or handle fully. Job done!
You will have to repeat the same steps for all of the other cabinets too. The same principles can be sued when attaching drawer handles as well.
To Sum Up
Installing new cabinet knobs, handles or pulls can transform your kitchen and this remodelling project is more rewarding than the work you need to put into it. Follow this simple guide to fix your kitchen cabinet hardware and give a brand new look to your kitchen.
<www.decoranddecor.com> <info@decoranddecor.com>


