

Wardrobe Handle Fitment Guide
Fitting wardrobe handles may seem like a minor chore, but it can greatly affect the appearance and utility of your home. Whether you're building a new wardrobe or renovating your existing one, the process of fitting handles can change the overall look and ease of use of your furniture.
This guide will lead you through how to fit wardrobe handles step-by-step, discuss the appropriate handle height, and offer some tips on choosing and maintaining your handles.

How To Fit Wardrobe Handles
Fitting wardrobe handles requires meticulous attention to detail as well as careful planning and measurement. Whether you’re working on a new wardrobe or giving an old one a facelift, following these steps will help you achieve a professional-looking finish that is both functional and aesthetically pleasing.
Step 1: Plan and Measure
Planning and accurate measuring are crucial before you start. This step ensures that your handles are placed at an optimal height and position, contributing to both the usability and symmetry of the wardrobe.
- Measure Twice, Cut Once: Start by deciding where you want to place your handles. Measure the distance from the bottom and sides of the door to determine the exact spot for the handle. Use a pencil to mark these locations clearly.
- Consider Handle Orientation: For double-door wardrobes, it's essential that the handles are symmetrically placed to maintain a balanced look. Ensure that the handles on the left and right doors are at the same height and distance from the edges.
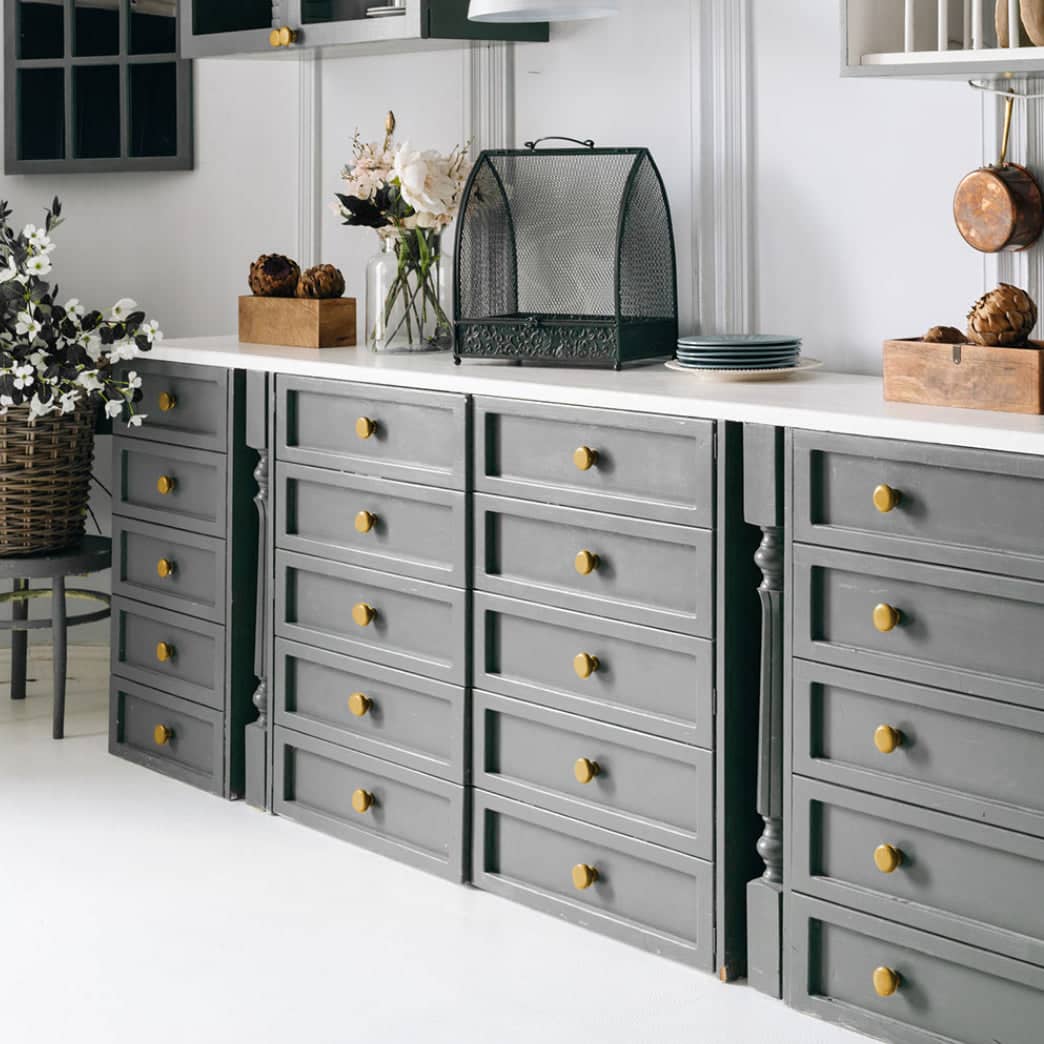
- Determine Handle Height: The height at which you place the handles can significantly impact the ease of use. For a standard setup, handles are typically positioned between 900mm and 1100mm from the floor. However, you may need to adjust this height based on the specific needs of the users.
Step 2: Select the Handle Style
Choosing the right handle style is crucial, as it can greatly influence the overall appearance and functionality of your wardrobe. The right handle not only complements your décor but also ensures ease of use.
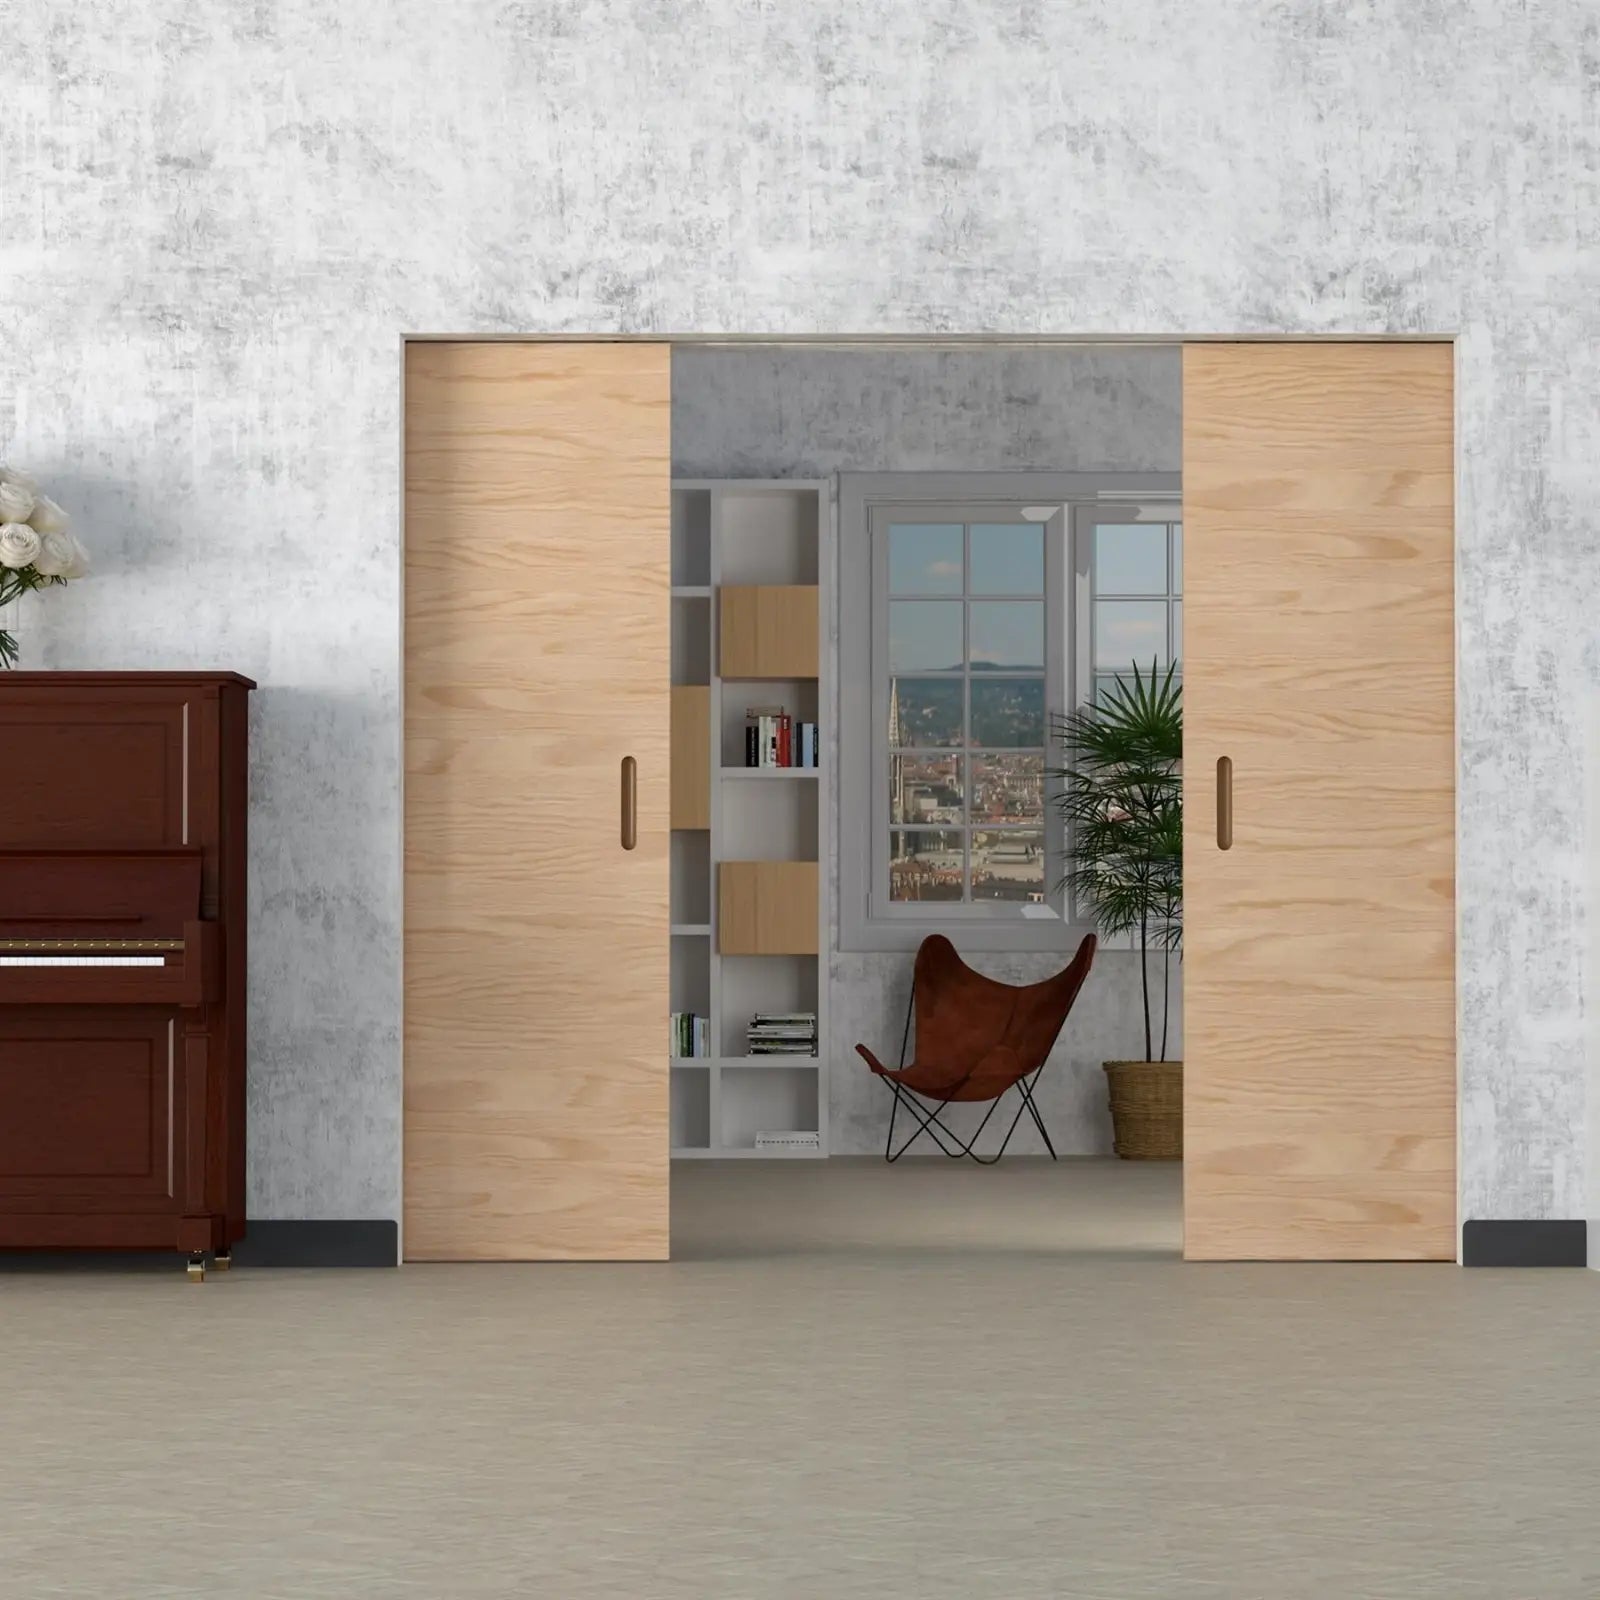
- Knobs vs. Pulls: Decide between knobs and pulls based on your wardrobe’s design and usage. Knobs are smaller and more suited for single doors, while pulls offer a better grip and are ideal for double doors or larger wardrobes that may require more leverage to open.
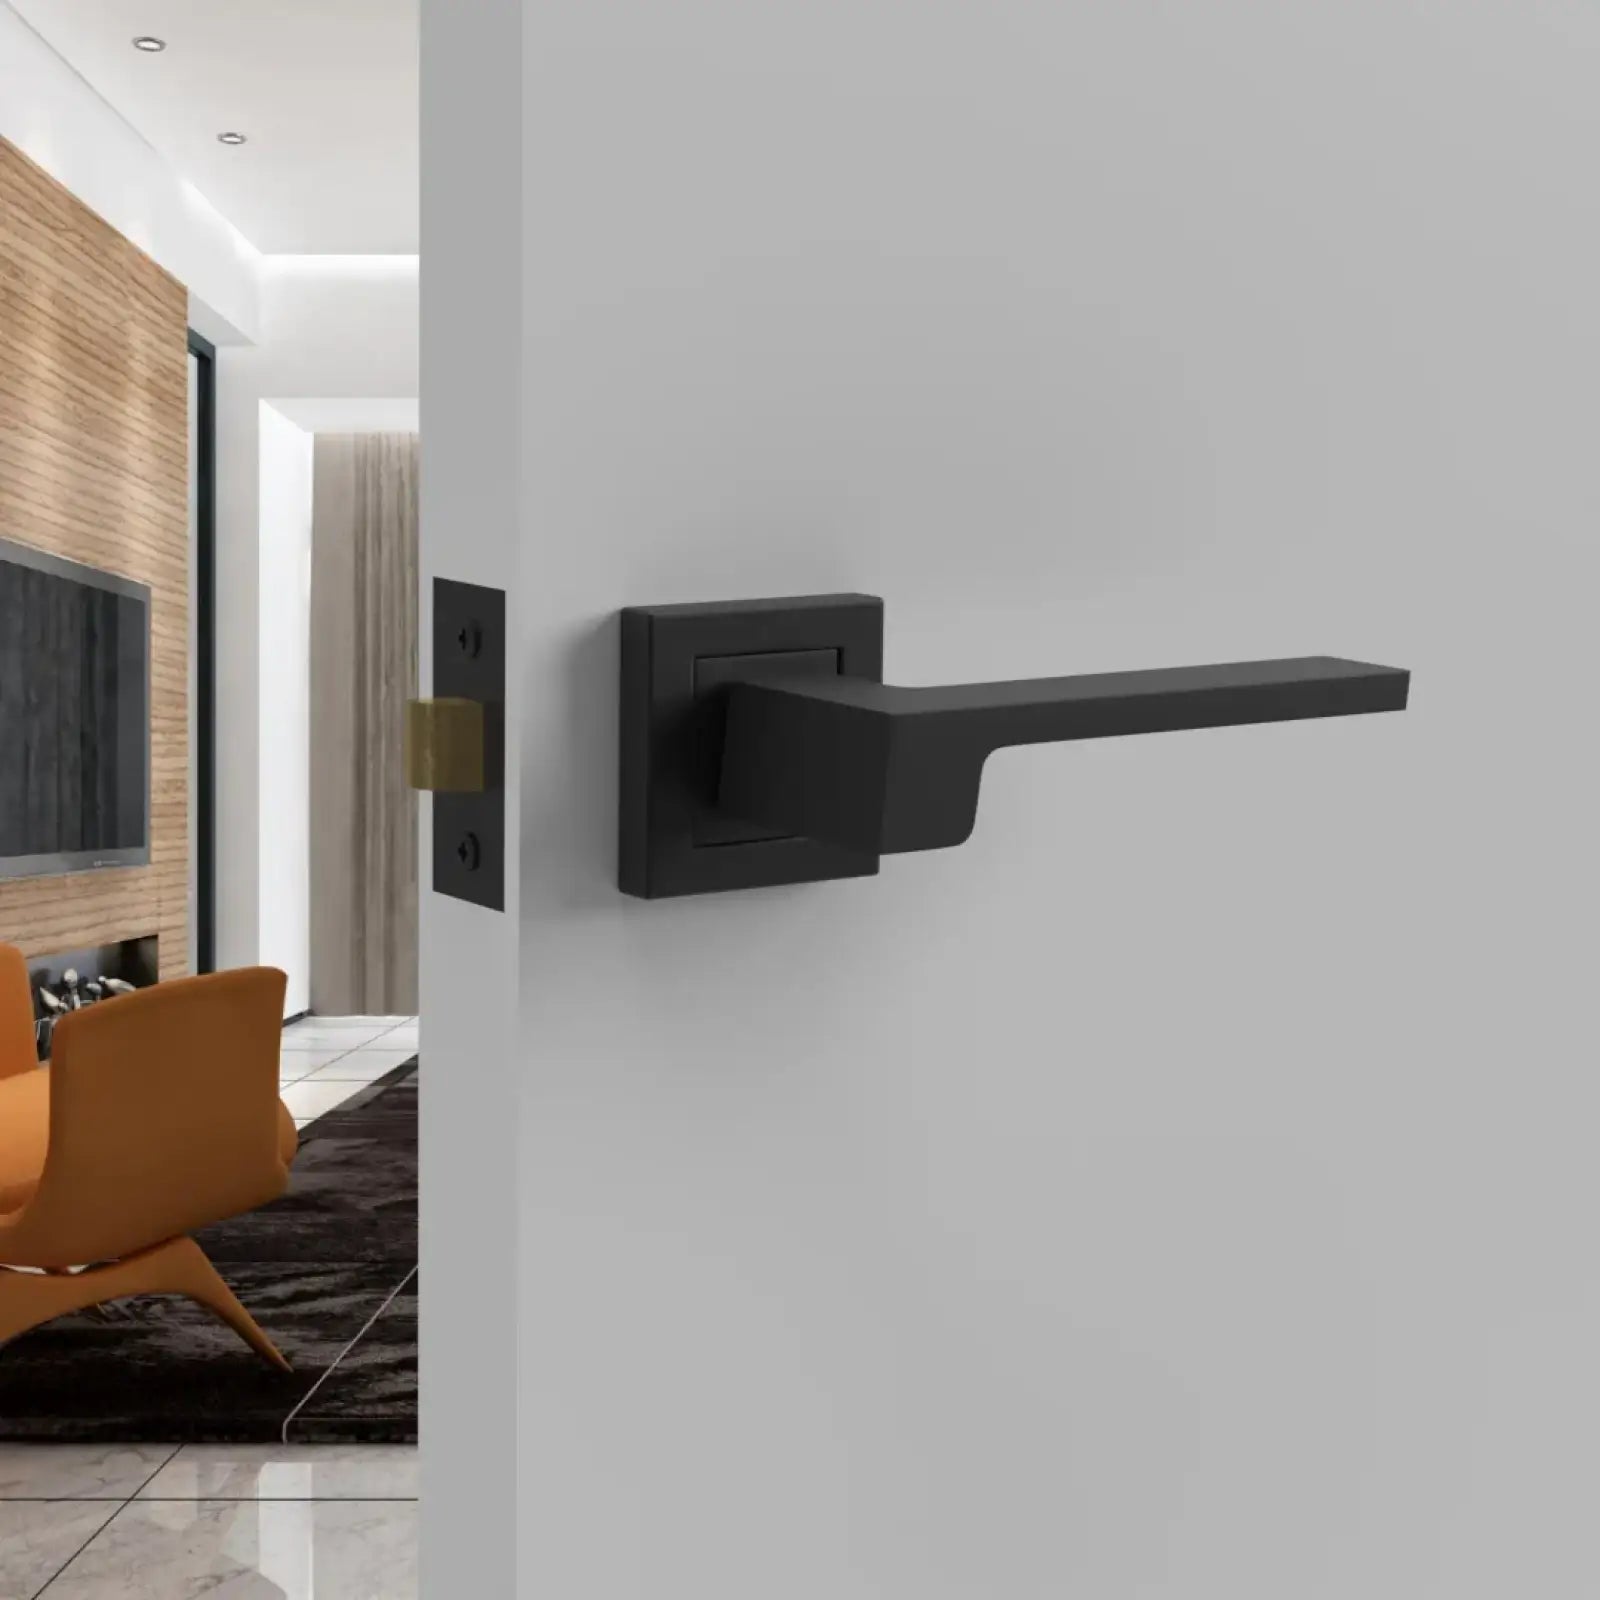
- Material and Finish: Handles come in a variety of materials, including wood, metal, and plastic, each offering different aesthetic and tactile qualities. The finish of the handle can range from rustic wood to sleek chrome or brushed nickel, allowing you to match or contrast with your existing décor.
- Handle Size and Shape: The size and shape of the handle should be in proportion to the wardrobe door. Larger doors may require bigger handles to maintain visual balance, while smaller doors might look best with more modest-sized handles.
- Style Cohesion: Ensure that the handles you choose are consistent with the overall design theme of your room. Whether your style is modern, traditional, or eclectic, your handles should enhance and not detract from your décor.
Step 3: Gather Tools and Supplies
Having all the necessary tools and supplies ready before you start will streamline the installation process and help prevent interruptions.
- Drill: An electric drill is essential for creating precise holes for the handle screws.
- Drill Bits: Ensure you have the correct size drill bits for the handle screws you will be using.
- Screwdriver: A screwdriver that matches the screws of your handles is necessary for securing the handles to the doors.
- Tape Measure: A tape measure will help you measure and mark the correct placement for your handles.
- Pencil: Use a pencil to mark the drill points and measurements on the door.
- Spirit Level: A spirit level will ensure that your handles are aligned perfectly horizontally and vertically.
- Protective Eyewear: Safety first - protective eyewear will help guard your eyes from dust and debris during the drilling process.
Additional Supplies
- Masking Tape: Masking tape can help prevent wood splintering when drilling holes.
- Template or Guide: Consider using a handle template or guide to ensure consistent placement and alignment of your handles.
- Screws: Make sure you have the correct screws for your handles.
- Wood Putty: In case you need to fill any previous holes or imperfections before installing new handles.
- Safety First: Wear protective eyewear to guard your eyes from dust and debris while drilling.

Step 4: Install the Handles
Installing the wardrobe handles is a critical step that requires precision and care to ensure both functionality and aesthetic appeal.
- Mark the Drill Points: Use the pencil marks you made earlier to indicate where you’ll drill the holes.
- Drill the Holes: Select a drill bit that matches the diameter of your screws. Drill precisely through the marked points, keeping the drill steady and perpendicular to the surface to ensure straight holes.
- Attach the Handles: Once the holes are drilled, align the handle with the holes. Insert the screws from the inside of the wardrobe door, threading them through to meet the handle. Using a screwdriver, tighten the screws carefully to secure the handle.
- Check the Fit: After attaching the handle, ensure it is straight and sits flush against the door surface. The handle should feel firm and stable, without any wobbling.
How High Should Wardrobe Handles Be?
The height at which you install your wardrobe handles can greatly impact both the usability and appearance of your furniture.
Standard Handle Heights
Wardrobe handles are generally positioned between 900mm and 1100mm from the floor. This height range is considered ergonomic for most adults, allowing a comfortable reach without the need for excessive bending or stretching. It ensures ease of use and accessibility while maintaining a balanced visual proportion with the wardrobe doors.
Adjusting for User Needs
To ensure your wardrobe handles are optimally placed for comfort and functionality, it's important to consider the specific needs of the primary users.
Children’s Rooms
In spaces primarily used by children, it’s advisable to lower the handles to a height of around 750mm to 900mm.
For Taller Individuals
If the wardrobe will be primarily used by taller individuals, or if it’s located in a space where reaching high is common, you might consider raising the handles slightly above the standard range. Heights of 1100mm to 1200mm can be more comfortable for taller users.
Wardrobes for Occasional Use
For wardrobes that are accessed less frequently or contain items that require more secure access, placing handles slightly higher than usual can act as a subtle deterrent to children or pets.
Wardrobe Handle Placement Considerations
Proper handle placement not only enhances the functionality of your wardrobe but also contributes significantly to its overall aesthetic appeal.

User Accessibility and Ergonomics
When positioning wardrobe handles, it's crucial to consider the height, reach, and hand strength of all potential users. Handles should be placed at a height that is comfortable for everyone to reach without stretching or bending too much.
- Universal Design: For a universally accessible design, consider the average height of all users and ensure handles are placed within an easy-to-reach range for most people.
- Strength and Dexterity: Handle placement should also take into account the hand strength and dexterity of users.
Finishing Touches and Maintenance
Keeping your wardrobe handles in top condition involves regular maintenance and care to ensure they remain secure and look their best.
Securing and Tightening Wardrobe Handles
Over time, with regular use, wardrobe handles may loosen. It’s important to regularly check the screws to ensure they remain tight and secure.
- Routine Checks: Incorporate routine checks into your cleaning schedule to catch any looseness early. Simply test each handle by gently wiggling it; if it moves, tighten the screws.
- Preventative Measures: To prevent handles from loosening, consider using thread-locking adhesive on the screws. This can help maintain a firm grip and reduce the need for frequent adjustments.
Cleaning and Protecting Wardrobe Handles
Regular cleaning helps maintain the appearance and durability of your wardrobe handles. Different materials require specific care to avoid damage and preserve their finish.
- Mild Detergent: Use a mild detergent and a soft cloth to clean your handles. Avoid harsh chemicals or abrasive materials that could scratch or tarnish the surface. For metal handles, a bit of furniture polish can help maintain their shine and protect against corrosion.
- Material-Specific Care: For wooden handles, consider using a wood cleaner or polish that is suitable for the type of wood. Metal handles can benefit from a gentle metal cleaner, while glass or crystal handles may require a glass cleaner to maintain clarity and sparkle.
Mixing and Matching Wardrobe Hardware
Creating a unique and personalised look for your wardrobe can be achieved by thoughtfully mixing and matching hardware.
Coordinating Handles with Other Hardware Pieces
To achieve a cohesive design theme in your room, coordinate your wardrobe handles with other hardware, such as door handles, drawer pulls, and even light fixtures.
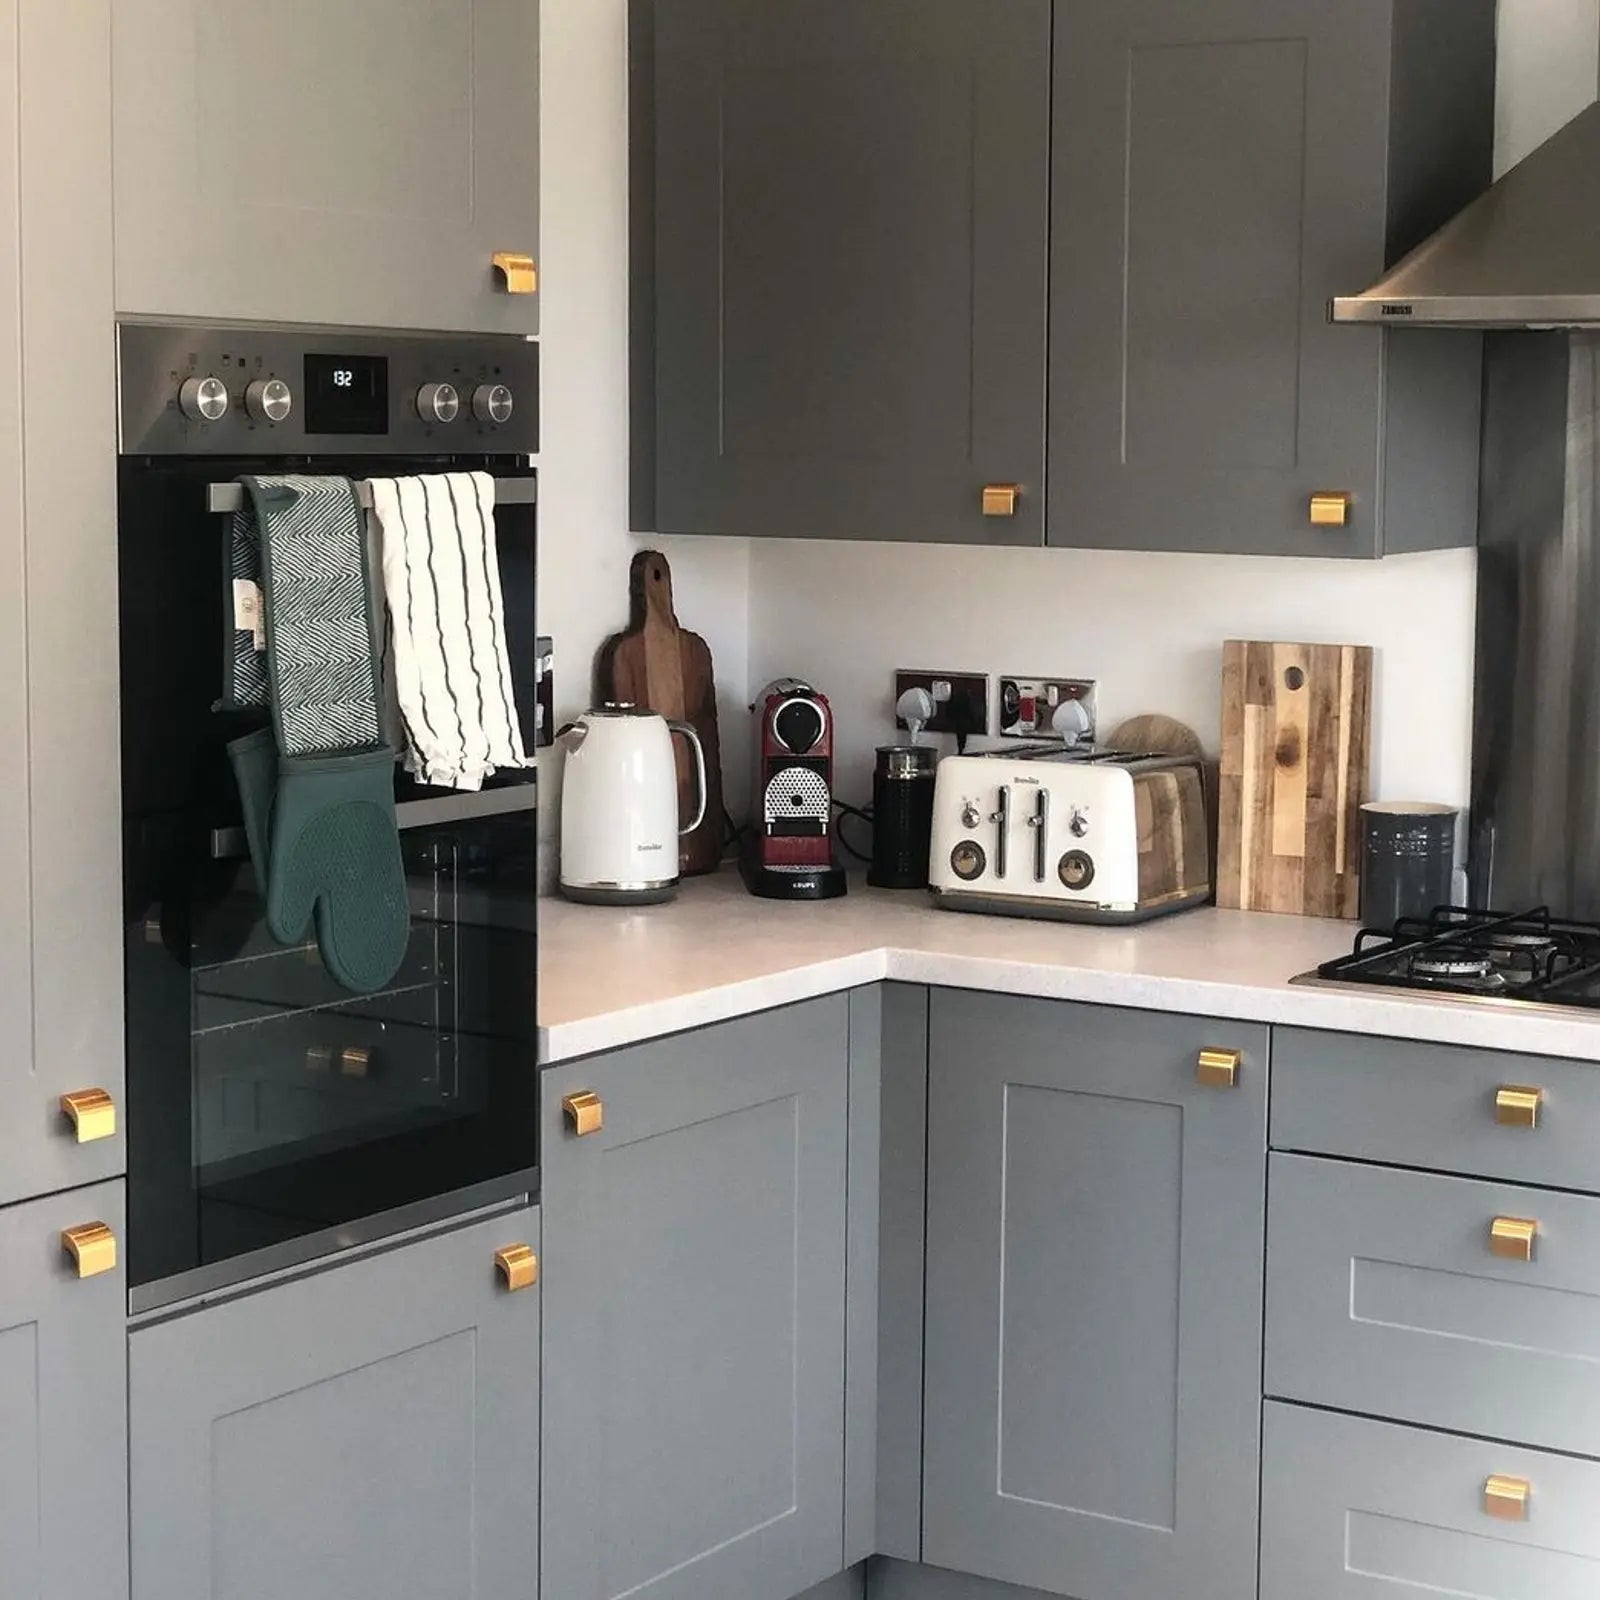
- Matching Finishes: Opt for handles with finishes that complement or match the other hardware in the room. For example, if your door handles are brushed nickel, choose wardrobe handles in a similar finish to create a unified look.
- Complementary Styles: Ensure that the style of the wardrobe handles complements other hardware. If your room features modern, minimalist fixtures, select handles with clean lines and sleek finishes to match.
Creating a Cohesive Look with Mixed Hardware
While it’s perfectly fine to mix different styles of handles, it's important to maintain a cohesive look.
- Common Elements: Identify common elements among the hardware pieces, such as a shared finish, colour, or shape. For example, mixing metal and wood handles can add visual interest, but ensure they share a similar colour palette or design motif to tie them together.
- Balanced Design: Maintain a balance between different styles to avoid a cluttered appearance. If you mix ornate and simple handles, use them strategically to create focal points rather than overwhelming the design.
Ready to upgrade your wardrobe with new handles? Explore our extensive collection of wardrobe handles at Decor and Decor to find the perfect style for your home. With our easy-to-follow installation guide and a wide range of options, enhancing your wardrobe has never been simpler. Shop now to give your furniture a fresh, stylish look!
FAQs
Can wardrobe handles be installed on both the left and right sides of the door or is there a standard side for handle placement?
Wardrobe handles can be installed on either side of the door. However, for double doors, they are typically placed on opposite sides for symmetry and ease of use.
How do wardrobe handle installation and placement differ for built-in wardrobes versus freestanding wardrobe units?
For built-in wardrobes, handles are often placed to match the room’s layout and furniture, considering their fixed positioning. Freestanding units offer more flexibility, and handles can be placed based on personal preference or ergonomic considerations. This flexibility allows for customisation to match varying room designs and user needs without permanent alterations.
Are there any specific safety considerations or precautions to keep in mind when installing wardrobe handles, especially in homes with young children?
Ensure handles are securely fitted to prevent them from becoming loose or detached, which could pose a choking hazard. Consider handles with rounded edges to avoid injury and place them at heights that are accessible but safe for children.
Read more
Door Handles vs Door Knobs: How To Choose
When it comes to home décor, even the simplest elements can significantly impact the overall look. One such distinction is between door knobs and handles. Though it may seem minor, this choice grea...
Read more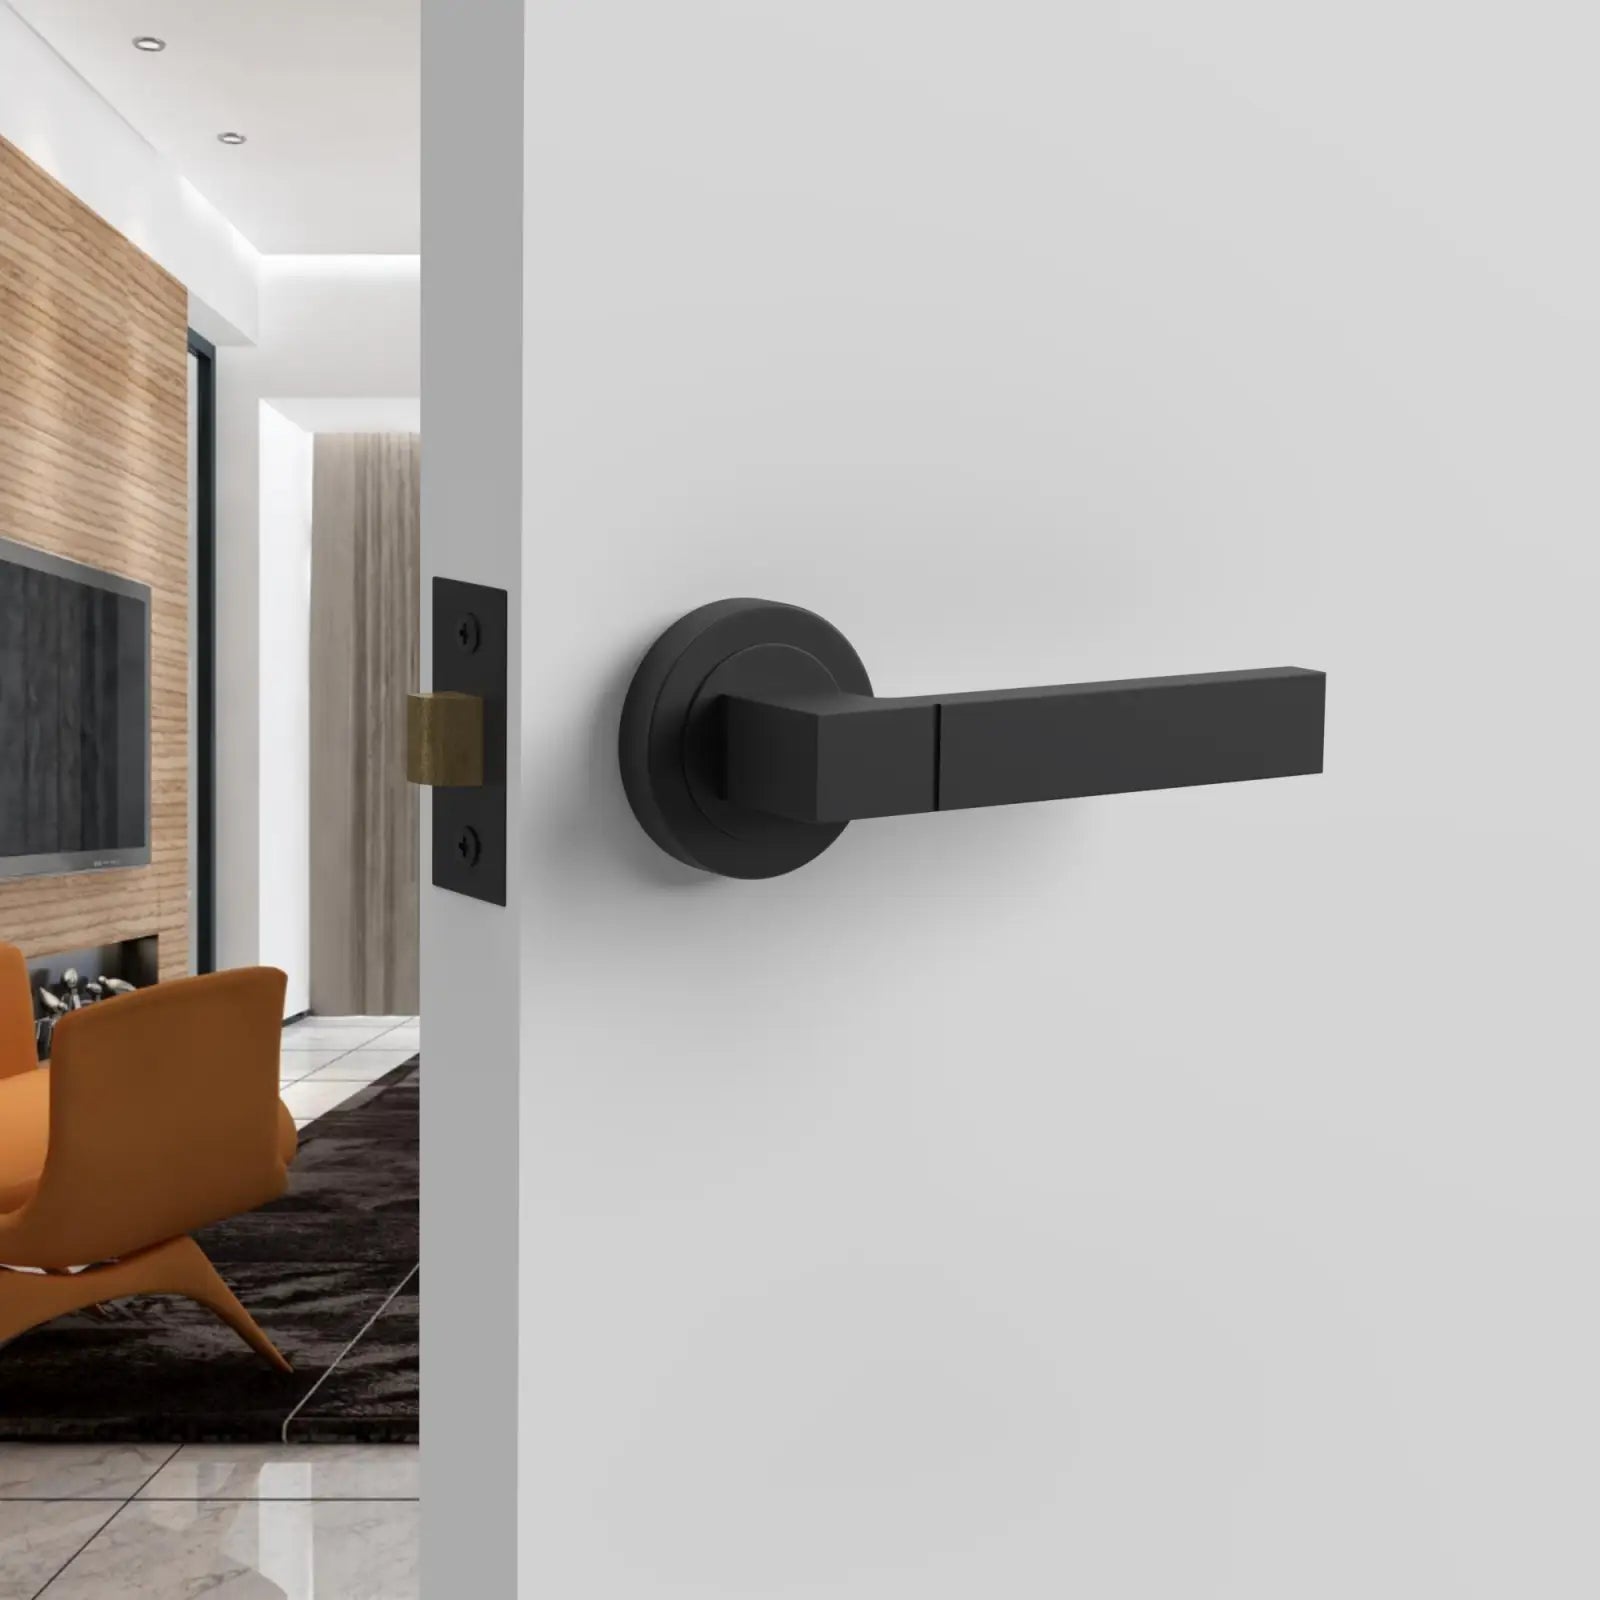
Maintaining a clean and hygienic home environment depends on keeping your door handles neat, not just for appearance. Regular cleaning ensures that interior door handles - whether brass, bronze, ...
Read more