

Article: How To Install Acoustic Panels: A Professional Guide
How To Install Acoustic Panels: A Professional Guide
Acoustic panels are an effective solution for controlling sound in various environments. Proper installation is crucial for optimal performance. Follow our guide for how to install acoustic panels, from planning and placement to installation methods and maintenance.

Planning Your Acoustic Panel Installation
Proper planning is an essential first step to ensure you get the best results in terms of sound control and aesthetic appeal. Take your time, measure carefully and consider why you want to install acoustic panels to begin with. These are the most important considerations:
- Purpose – Are you reducing echo, improving sound clarity, or blocking external noise?
- Room size and shape – Different spaces require different panel placements.
- Aesthetic preferences – Choose panel colours and designs that complement the room.
- Installation method – Consider wall damage, repositioning needs, and mounting options.
Determining the Best Panel Placement
Home theatres: Place panels at primary reflection points along walls and ceilings.
Recording studios: Install panels around the mixing position, particularly behind monitors and on side walls.
Offices: Place panels in high-noise areas to reduce reverberation and improve speech clarity.
Room Assessment and Coverage Calculations
Measure the room dimensions, including the height and surface area of the walls, to estimate the number of panels needed. Use the 20-30% rule, where 20-30% of the wall space should be covered with acoustic panels for noticeable noise reduction. Focus on key reflection points, which are the spots on the wall where sound reflects off and reaches your ears.
Installation Methods and Hardware
When you buy panels, the kit will come with a panel installation guide on how to install them. Before installing, ensure the walls are clean and dry, and remove any screws, nails and other obstructions to make the wall completely smooth. Gather the necessary tools.
For installation, you’ll need screws, adhesive (a glue gun and tube of glue or other type of adhesive), or Z-clips or mounting brackets, depending on the panel type, weight and placement. You’ll also need a measuring tape, a level, a drill (if using screws) and a circular or normal saw if you need to adjust the panel's size.
Direct Wall Mounting Options
Direct wall mounting of acoustic panels refers to attaching the panel directly to a wall, with no air gap between the panel and the wall. This method creates a tight seal against the wall, maximising sound absorption by eliminating air pockets behind the panel. It is best for lightweight acoustic panels where small screws or a strong adhesive will provide adequate support.
Installing with Z-Clips and Brackets
Z-clips are metal fasteners that interlock to securely hold objects in place whilst brackets are simple metal or wooden L-shaped supports that hold or secure objects against a surface. Both Z-clips and brackets consist of two parts: one part attaches to the panel and the other to the wall. Once attached, slide the panel into place for a secure, yet removable fit.
How To Install Acoustic Panels Using Adhesives
- Gather all your tools: panels, adhesive (double-sided adhesive strips, a heavy-duty adhesive, a spray adhesive, or Velcro strips), measuring tape or level, and cleaning supplies.
- Prepare the walls and panels by dusting/cleaning as needed.
- Measure and mark for placement on the wall.
- Apply the adhesive following product instructions.
How To Install Acoustic Panels in Different Spaces
Acoustic panels are usually installed in home theatres, studios, commercial spaces, offices, gyms, even bedrooms and lounges. Ceiling panels are often used in larger areas with an open-plan layout or high ceilings, as well as conference rooms and studios. Wall panels are effective if you need to control sound reflections at ear level in smaller rooms.
Home Theatre Installation Tips
Treating the front and back of the room is essential for optimising bass response. Without this, you could end up with dead spots. Bass traps are often used in home theatres to help eliminate or reduce reflection, so you get a much clearer representation of the audio.
Place panels at the first reflection points on the side walls. Use bass traps in corners to control low-frequency reverberation. In-home theatres with ceiling-mounted panels will improve the clarity of the surround sound.

Studio and Office Mounting Techniques
- Position panels behind and beside workstations to absorb reflections.
- Install cloud panels (ceiling-mounted) to reduce echo in large offices.
- Use movable partition panels for flexible setups in open-plan spaces.
- In studio offices with hard floors, consider adding acoustic rugs or carpets.
Ceiling Panel Installation
Installing acoustic ceiling panels significantly improves sound quality and is important in home theatres, offices, or studios. It is also a great option in rooms with hard ceilings that tend to amplify sound. Here’s our quick guide on how to hang acoustic panels on ceilings based on the three main types of ceiling panels:
A suspended grid panel, also known as a drop ceiling
This type is often used in large commercial spaces or if you want to mount panels in a grid system.
To install:
- Install the grid system to the ceiling, which will hold the acoustic tiles in place
- Lay the acoustic panels into the grid system
- Adjust the tiles to ensure they are level and fitted securely.
Direct-mounted panels
These are ideal for smaller, lightweight panels or where a minimal look is preferred.
To install:
- Measure and mark the position of each panel on the ceiling.
- Apply the appropriate adhesive to the back of the panel.
- Mount the panels by pressing them against the ceiling.
- Check to see if additional support is needed, and if so, use small ceiling hooks or screws.
Cloud panels, also known as suspended panels
These are used in spaces with high ceilings or for focused treatment above a specific area. It is attached with ceiling hooks or brackets.
To install:
- Prepare the suspension system on the ceiling by using fishing wire or ceiling suspension cables, which will be used to suspend the panels at the desired height.
- Install hooks or brackets where the cloud panel will hang.
- Attach the panels to the suspension system whilst ensuring the panels are level and evenly spaced.
Finishing and Maintenance
Finishing your acoustic panels after installation may include adding a frame or fabric wrapping to protect the edges from damage. Over time, acoustic panels can lose their effectiveness due to wear, dust buildup, or material degradation, resulting in you having to replace them. Maintain them by regularly cleaning the panels and routinely checking for any loose or damaged panels.
Panel Alignment and Spacing
Always use a level to ensure the panels are straight. For vertical alignment of panels on sidewalls, align the top edge of the panel at ear level. For ceiling panels, place them directly above the workstation. You can also opt for horizontal alignment of wall panels and place them at even intervals along the wall to create a balanced absorption across the surface.
A space between your panels is important to optimise sound absorption and diffusion. Generally speaking, leave a 5–10 cm gap between panels, although this gap can widen (up to 12cm) in larger rooms with larger panels. If installing ceiling cloud panels, leave a gap between the ceiling and the panel to maximise absorption.
Maintaining Your Acoustic Panels
Use a vacuum cleaner with a brush attachment or a microfibre cloth to remove dust, debris and dirt that accumulates on the surface of the panels. Check for loose panels or damage as over time panels may shift. Avoid excess moisture or humidity in the area by ensuring the area is well-ventilated or by using a dehumidifier.
Get Your Acoustic Panels from Decor and Decor
Our acoustic panels offer a sophisticated solution to sound control, ensuring a tranquil and productive environment. They are durable, easy to install, and suited to both residential and commercial settings. Contact us for expert tips on how to install acoustic panels and choose the right panels for your needs.
FAQs
Will installing acoustic panels damage my walls, and how can I minimise wall damage?
It depends on what you use to affix the panels; for example, adhesive strips or Velcro can prevent permanent damage. If screwing into walls, use wall anchors to minimise damage. Consider freestanding panels if wall modifications are not an option.
Can I stack acoustic panels on top of each other for better sound absorption?
Stacking panels is sometimes an option in bass-heavy environments. However, ensure they are securely fastened to prevent instability. Avoid stacking panels directly on flat surfaces and always ensure a small gap between panels.
Do I need a professional to install acoustic panels, or is it a viable DIY project?
Most installations can be done DIY with basic tools and planning. However, a professional may be helpful for large, complex setups, like ceiling treatments or precise acoustical adjustment. For commercial spaces, professional installation will ensure optimal placement and safety.
Read more
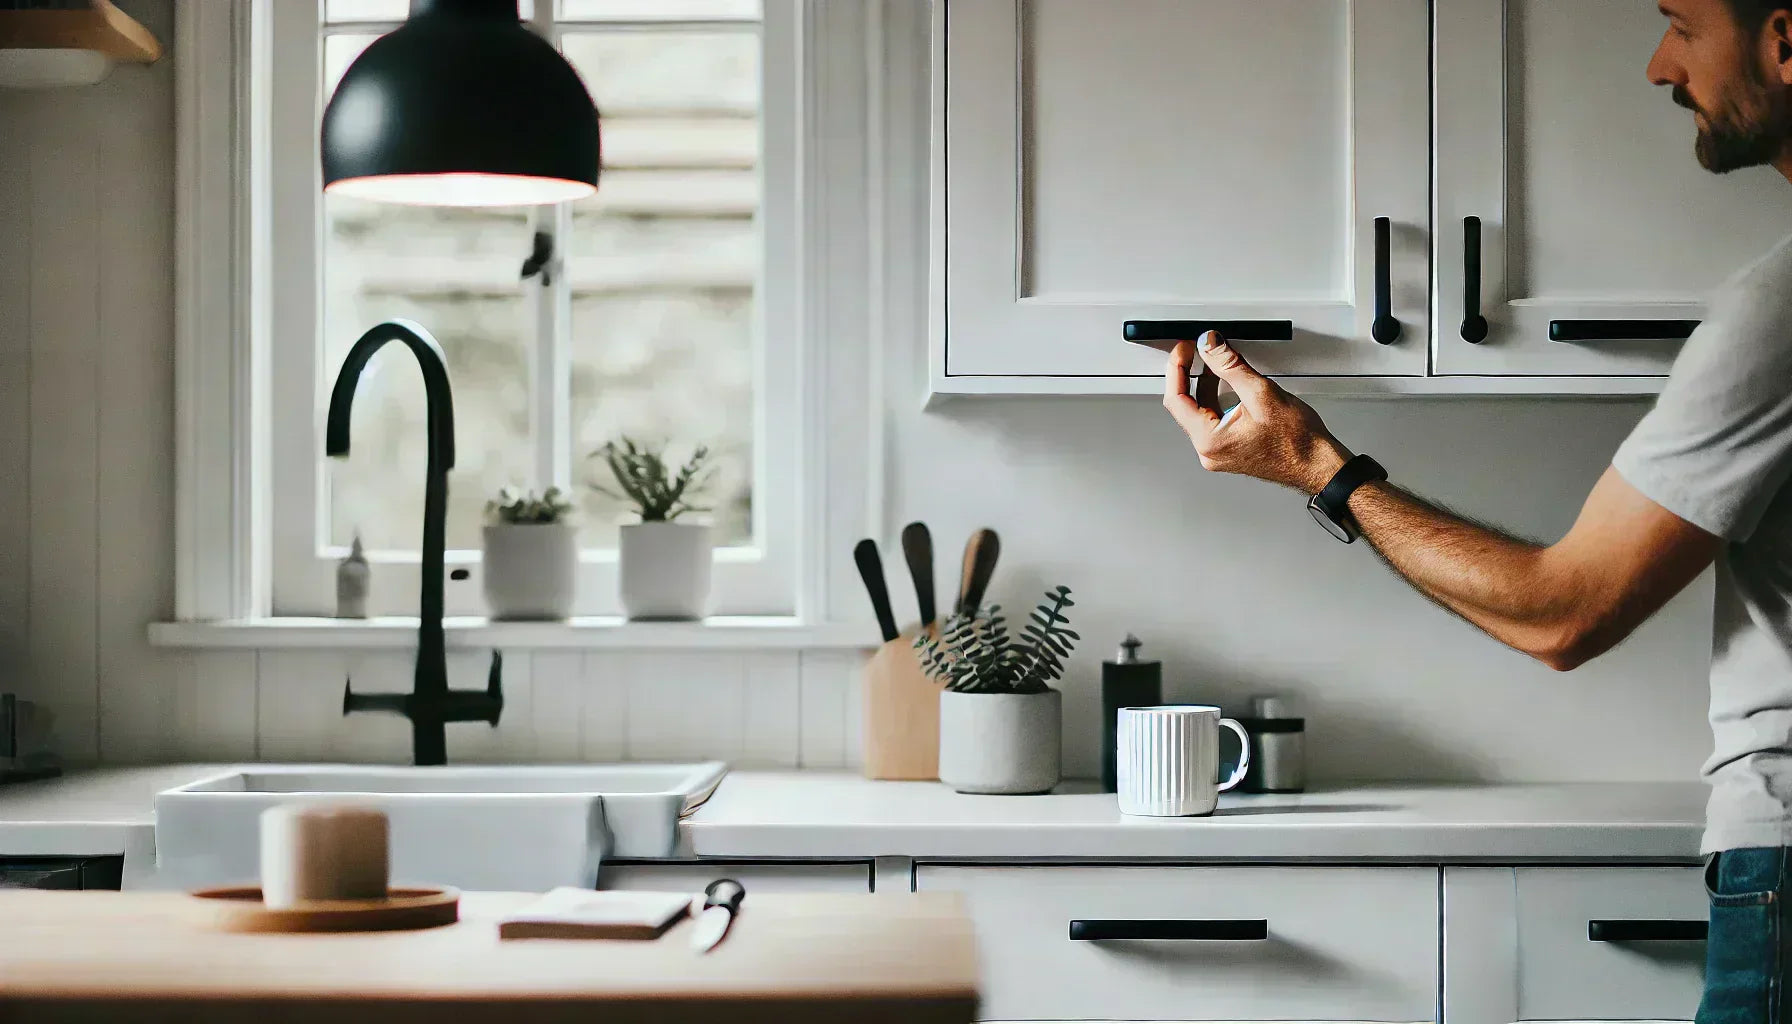
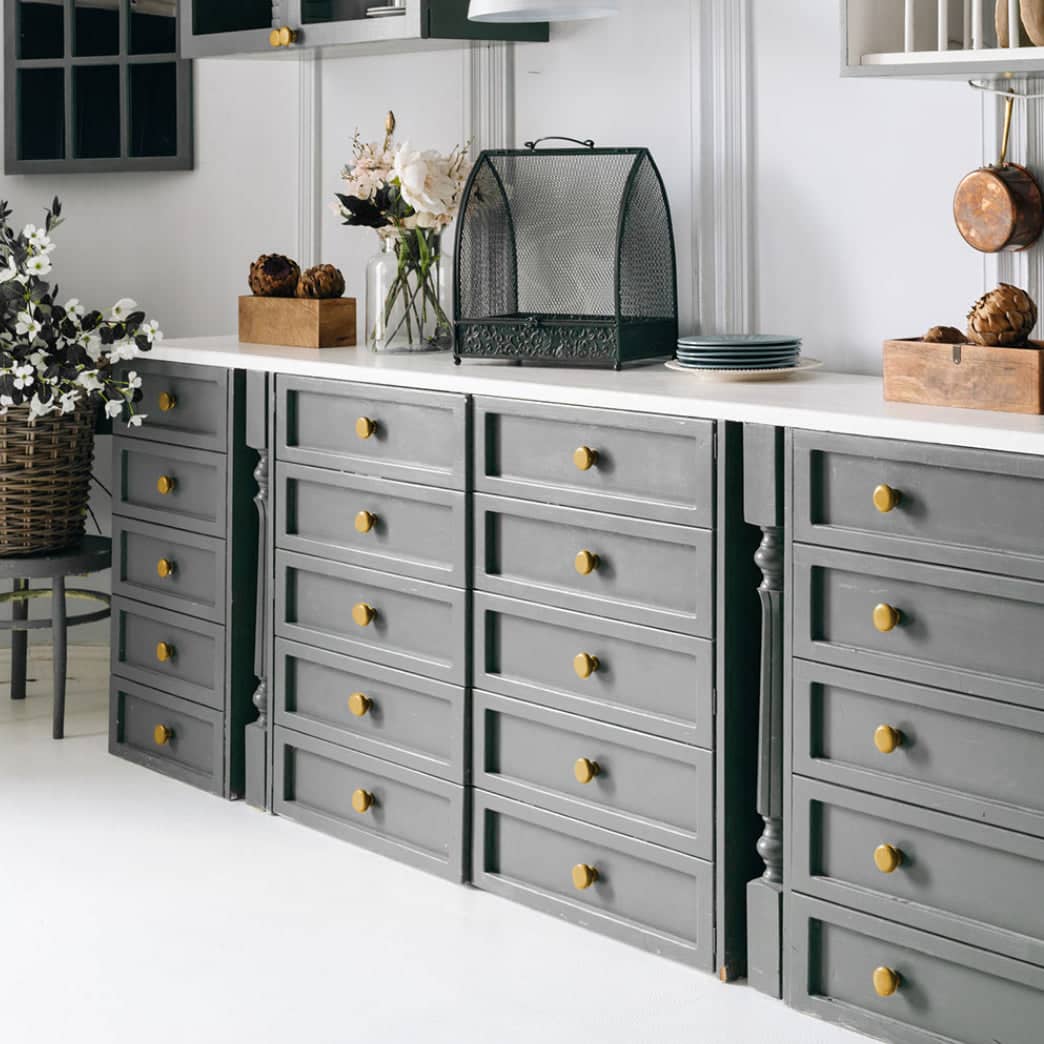
Flat-Pack to Fabulous: Upcycle Furniture with Stylish Handles
Upgrading your home décor doesn’t always require a pricey remodel. In fact, a simple swap of hardware can breathe new life into old furniture, making it look chic and custom. It’s a growing trend...
Read more