How To Make Sliding Doors for Cabinet: Step-by-Step Guide
Adding sliding doors to your cabinet is a stylish and space-saving option that can give any room a modern look. For DIY enthusiasts, making sliding doors for a cabinet is a rewarding and easy project to upgrade your furniture. In this guide, we’ll cover how to make sliding doors for cabinet in eight easy steps, as well as providing tips on choosing the right handles.
What You’ll Need
For this project, you’ll need a cabinet sliding doors kit. These kits come pre-assembled with all the essential hardware, including top and bottom tracks, rollers, screws, fasteners, guides, and stoppers. It’ll also come with installation instructions, making this process even more simple.
Alongside the sliding cabinet door kit, you’ll need these basic tools:
- Measuring tape
- Pencil
- Spirit level
- Drill
- Screwdriver
How To Make a Sliding Door for a Cabinet
Follow these eight simple steps to make sliding doors for a cabinet:
Step 1: Prepare the Cabinet
Begin by preparing your cabinet for the new sliding doors. Remove any existing doors, hinges, and handles to create a clear workspace. Check that the inside surfaces where the tracks will go are clean, smooth, and ready for installation. This might involve filling any holes and sanding rough areas to ensure the tracks can be securely attached.
Next, use the measuring tape to measure the width and height of the cabinet with precision. These measurements are essential for cutting the tracks to the correct length and fitting the doors accurately. Use a pencil to mark where the top and bottom tracks will be positioned inside the cabinet.

Step 2: Install the Top Track
The top track is crucial for keeping your doors aligned and supporting smooth movement. Position it along the upper section of the cabinet, using your pencil marks as a guide, and secure it firmly with screws. Use a drill to create pilot holes if needed, as this will make it easier to drive the screws in evenly and avoid splitting the cabinet material. Double-check with a spirit level to ensure even placement, preventing any door tilt during use.
Sliding cabinet door kits come in a variety of standard track lengths, such as 1200mm, 1500mm, 1800mm, 2400mm, and 3000mm. If your cabinet is shorter than these lengths, you can cut the track to fit precisely. For longer cabinets, consider combining multiple tracks seamlessly or sourcing a custom length for the best fit.
Step 3: Install the Bottom Track
With the top track securely in place, you can now install the bottom track, which provides essential guidance and stability for the sliding doors. Align it carefully with your pencil marks to ensure it matches the top track’s position. Use the drill to create pilot holes if necessary, then secure the bottom track with screws, checking with a spirit level for precise alignment.
Step 4: Attach Rollers and Guides
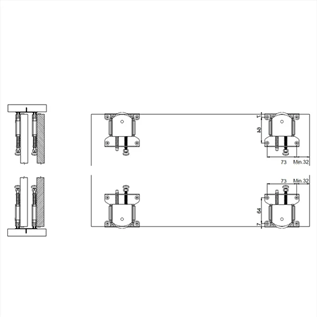
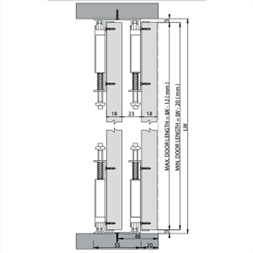
Attaching the rollers and guides will ensure smooth, stable sliding door operation. Begin by securing the rollers to the top edge of each door. Use the screws or fasteners provided in your sliding cabinet door kit, following the instructions carefully to ensure the rollers are firmly attached and properly aligned.
Next, attach the guides to the bottom edge of each door. These guides keep the doors steady within the tracks, preventing any sideways movement or misalignment.
Step 5: Fit the Sliding Doors
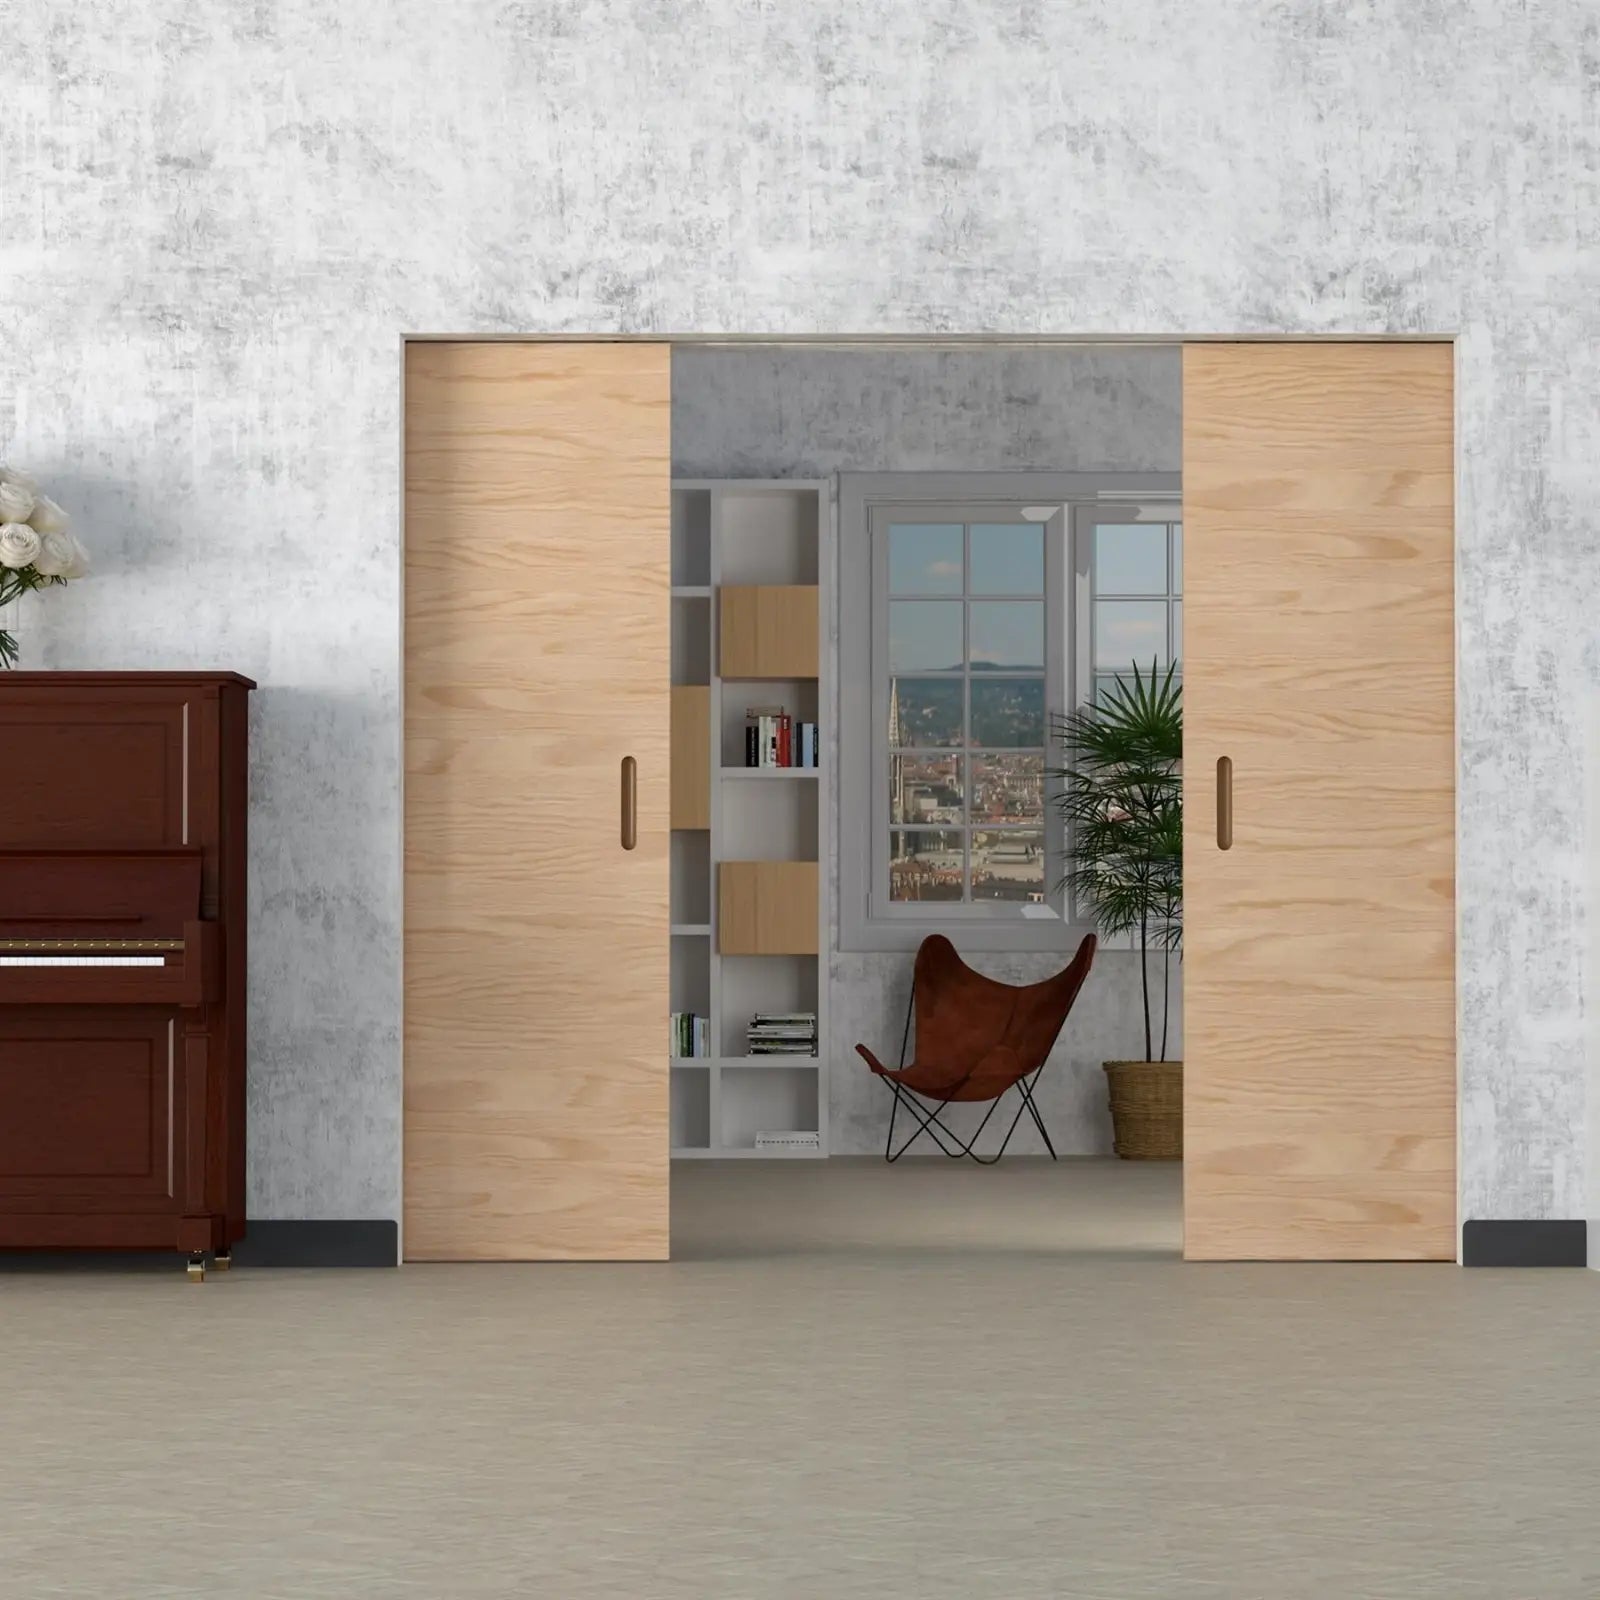
To place the doors onto the tracks, angle the top of the door slightly and insert the rollers into the top track. Once the top is in place, lower the door until the bottom guides fit smoothly into the bottom track. Repeat this process with the second door if you’re installing double sliding doors.
Once the doors are fitted on the tracks, attach the stoppers at the ends of the tracks. These stoppers will prevent the doors from sliding too far, keeping them within the designated range of movement. Adjust the stoppers as needed to ensure the doors stop in the desired position when opened or closed.

Step 6: Adjust the Doors
With the doors fitted, make any necessary adjustments to ensure smooth sliding. Using a screwdriver, adjust the rollers so that the doors slide evenly within the cabinet frame. Proper alignment will help prevent the doors from rubbing against each other or the cabinet edges.
Step 7: Add Finishing Touches
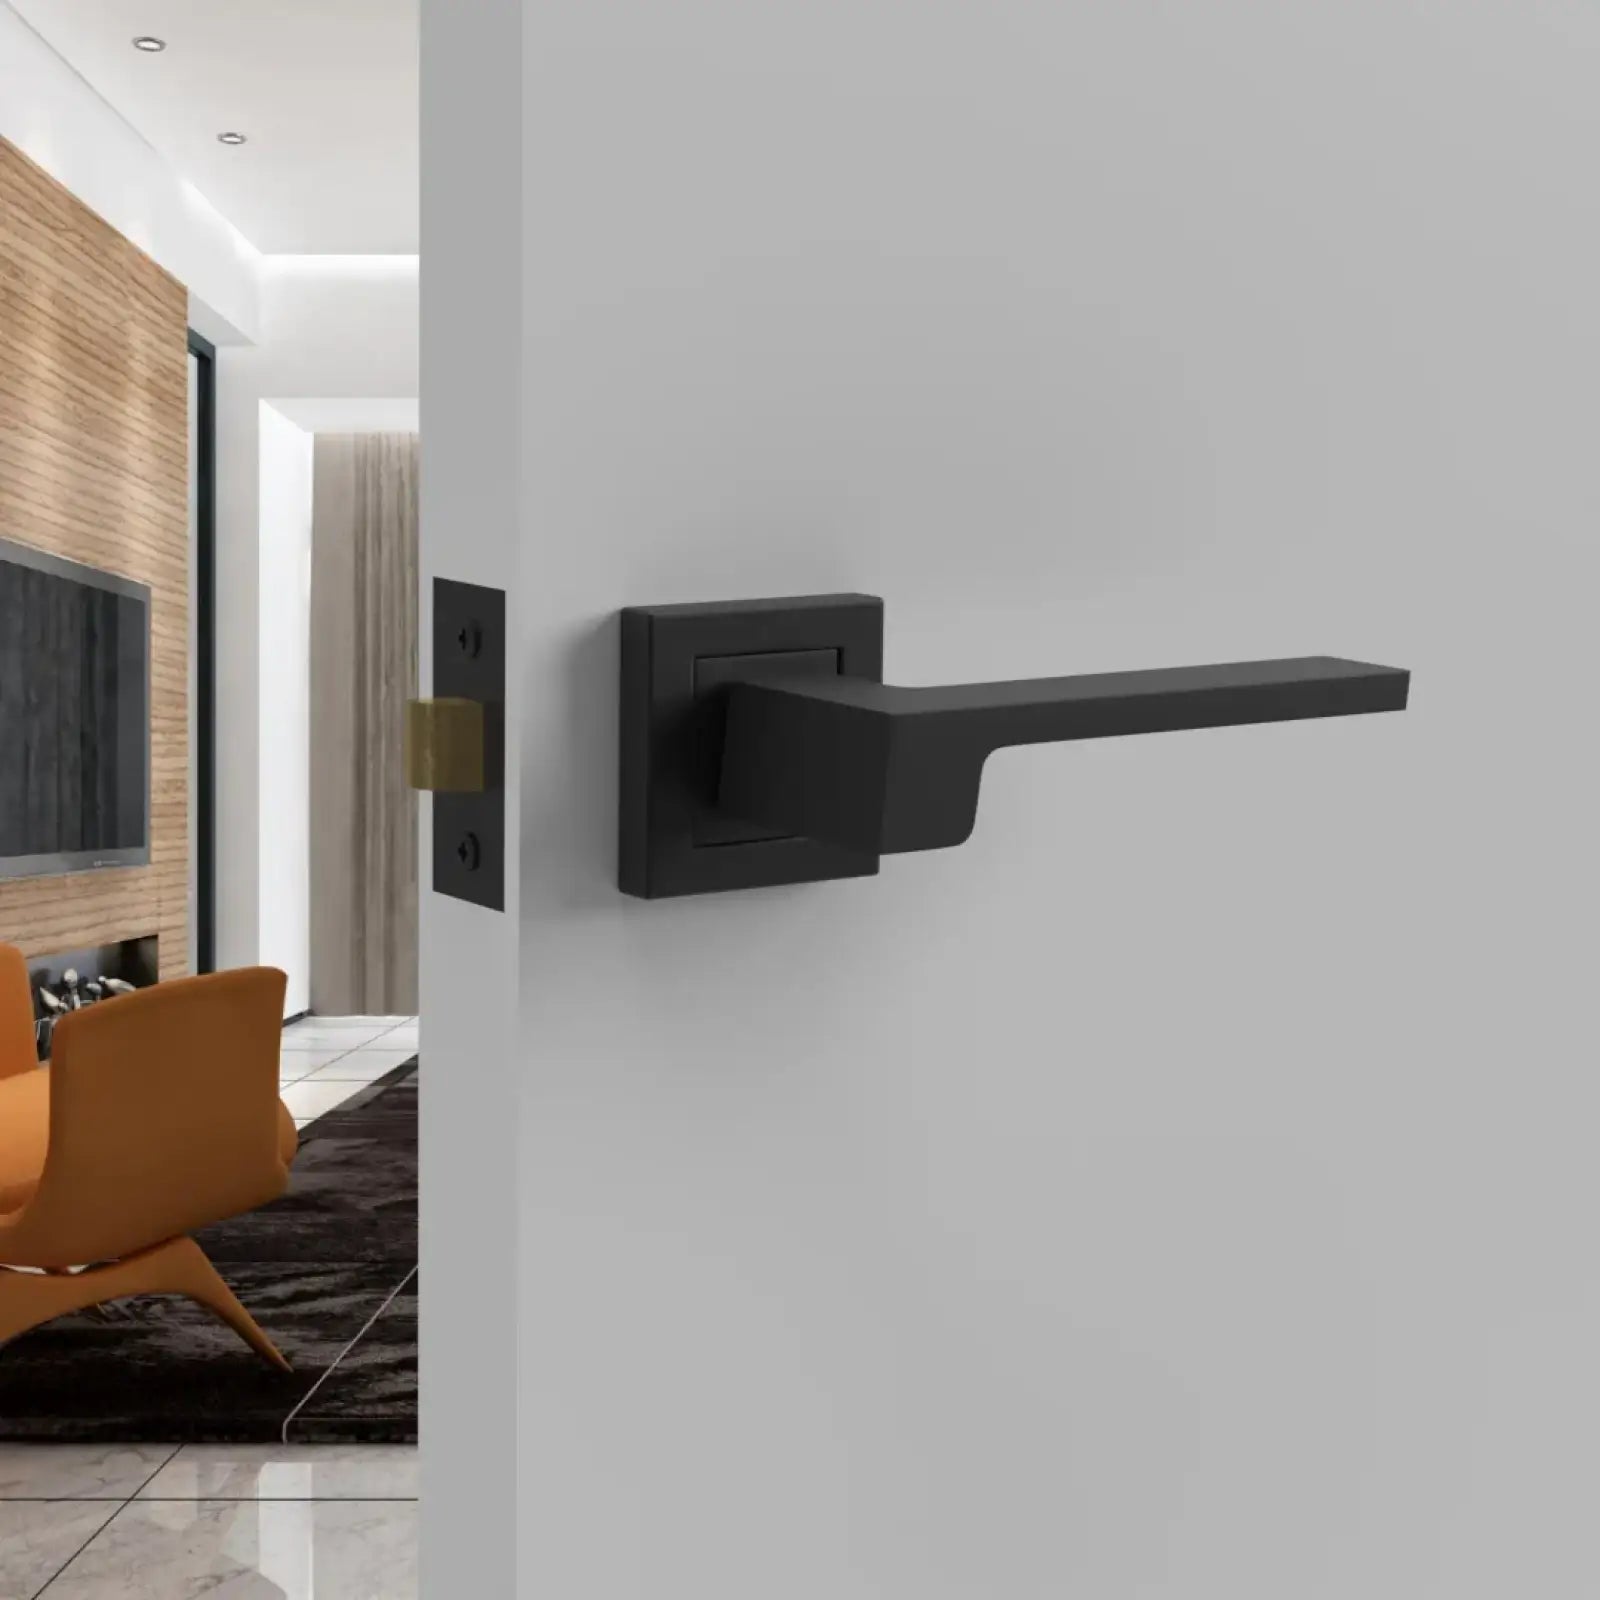
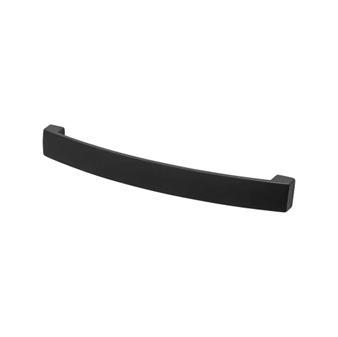
Adding finishing touches like cabinet handles completes your sliding doors, making them easy to operate while adding a personalised, stylish element to the cabinet. Having handles will also prevent smudging on the door surface, helping keep your new sliding doors cleaner for longer.
Here’s how to attach cabinet handles to make this process quicker:
- Measure and mark the placement for each handle, ensuring they’re level and evenly spaced on each door.
- Drill pilot holes at your marked spots using a drill bit that matches the size of the screws provided with your handles.
- Attach the handles by inserting and tightening the screws, making sure they’re secure without overtightening to avoid damage to the door.

Step 8: Test the Doors
The final step is to test your new sliding cabinet doors! Simply grab the cabinet handle and slide each door from side to side, checking that they move smoothly along the tracks. If any adjustments are needed, make them now to ensure everything is working perfectly.
Choosing Cabinet Handles
When you complete this DIY project, every detail should feel just right, from the smooth sliding doors to the style and functionality of the handles you choose. Selecting the right cabinet handles ensures both practicality and a cohesive look that complements your space.
Here are our top three tips for choosing the perfect cabinet handles:
- Consider the Cabinet’s Purpose: Think about the grip, size, and frequency of use. A handle for a garage storage cupboard, which may be opened frequently, should be sturdy and easy to grip, while a handle for a craft cupboard used less often can focus more on style than heavy use.
- Match Your Design Style: Choose handles that align with your overall decor. Sleek, minimalist handles work well in modern spaces, while more decorative options add charm to traditional or rustic cabinets.
- Focus on Comfort and Ergonomics: Opt for handles that feel comfortable to hold, especially if they’ll be used regularly. Handles that are too small or difficult to grasp can make daily use inconvenient, so test a few options to find what feels best.
DIY Sliding Cabinet Door Kits at Decor and Decor
Decor and Decor offers sliding cabinet door kits designed to suit a variety of cabinet styles and sizes. Perfect for both beginners and seasoned DIYers, our kits include all the essential components you need for a seamless, hassle-free installation. Explore our range of DIY sliding cabinet door kits and discover the ideal solution to bring style and functionality to your next project.
FAQs
Can I install sliding doors on any type of cabinet?
Most cabinet types can accommodate sliding doors if there’s enough space for the tracks. Some older or uniquely shaped cabinets may need slight adjustments.
Do I need special tools to make sliding cabinet doors?
Basic tools like a drill, screwdriver, and level are usually enough for installing sliding doors. Cabinet sliding door kits often include all the specific parts you’ll need.
Can I convert my existing cabinet into one with sliding doors?
Yes, most existing cabinets can be converted to include sliding doors. The original doors and hinges may need to be removed before installing tracks.


